
Bending text is simpler than you might think. Here are the step-by-step instructions for arching text in PowerPoint.
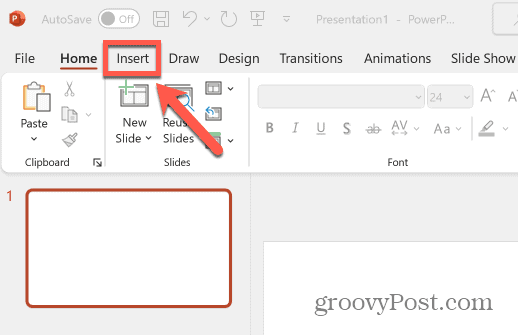
1. Type Your Text: On PowerPoint, go to the Insert tab, select Text Box, and then type the words you want to curve.
2. Find the Bend Tool: With the text box selected, a new Shape Format tab will appear at the top. Click it.
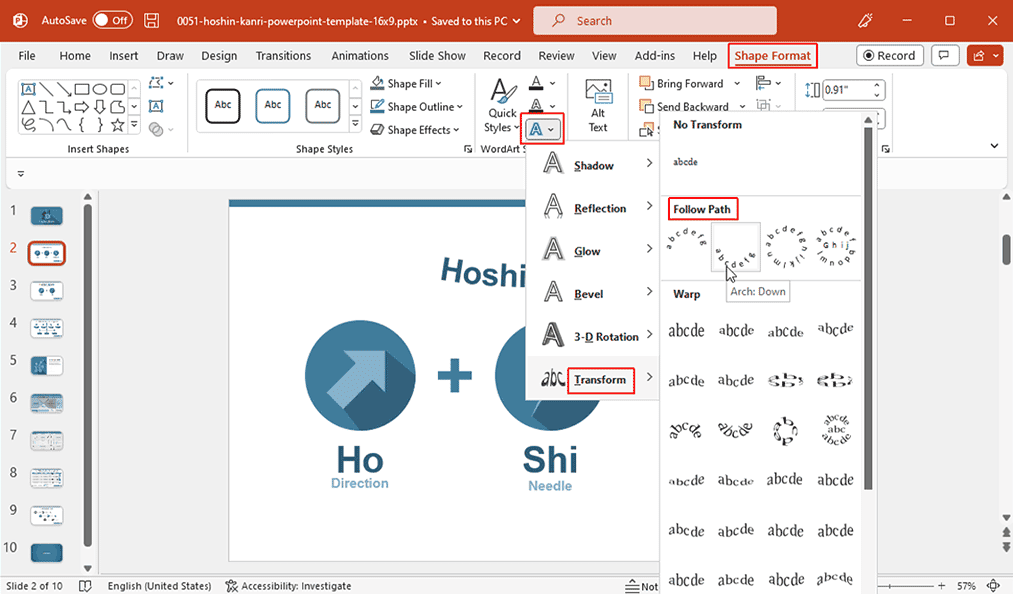
3. Transform the Text: In the WordArt Styles group, click Text Effects, then select Transform.
4. Choose a Path: A gallery of options will appear. Under Follow Path, choose a curved or arched path for your text. You can drag the yellow handles on the text box to adjust the curve’s height and shape.
Case Study 1: The Poster-Style Title: Create a bold, impactful title for your presentation. Bending the text in a semi-circle or wave can make your title look like a professional movie poster.

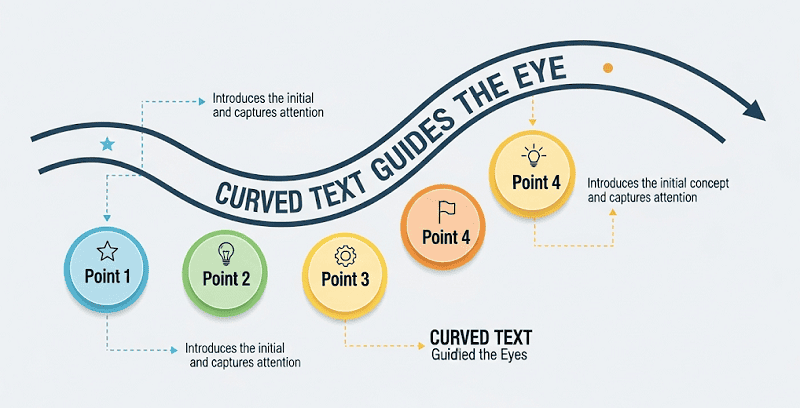
Case Study 2: Guiding Information Flow: Use a curved text path to guide the audience’s eyes across a slide, making complex information easier to digest. It’s perfect for timelines or process diagrams.
Case Study 3: Decorative Elements: Don’t just use curved text for titles. You can use it as a design element—for example, wrapping a circle of text around an image or a key data point to add a unique, artistic touch.

These creative techniques are fantastic, but mastering them takes time and effort. What if you could get stunning results without the manual work?
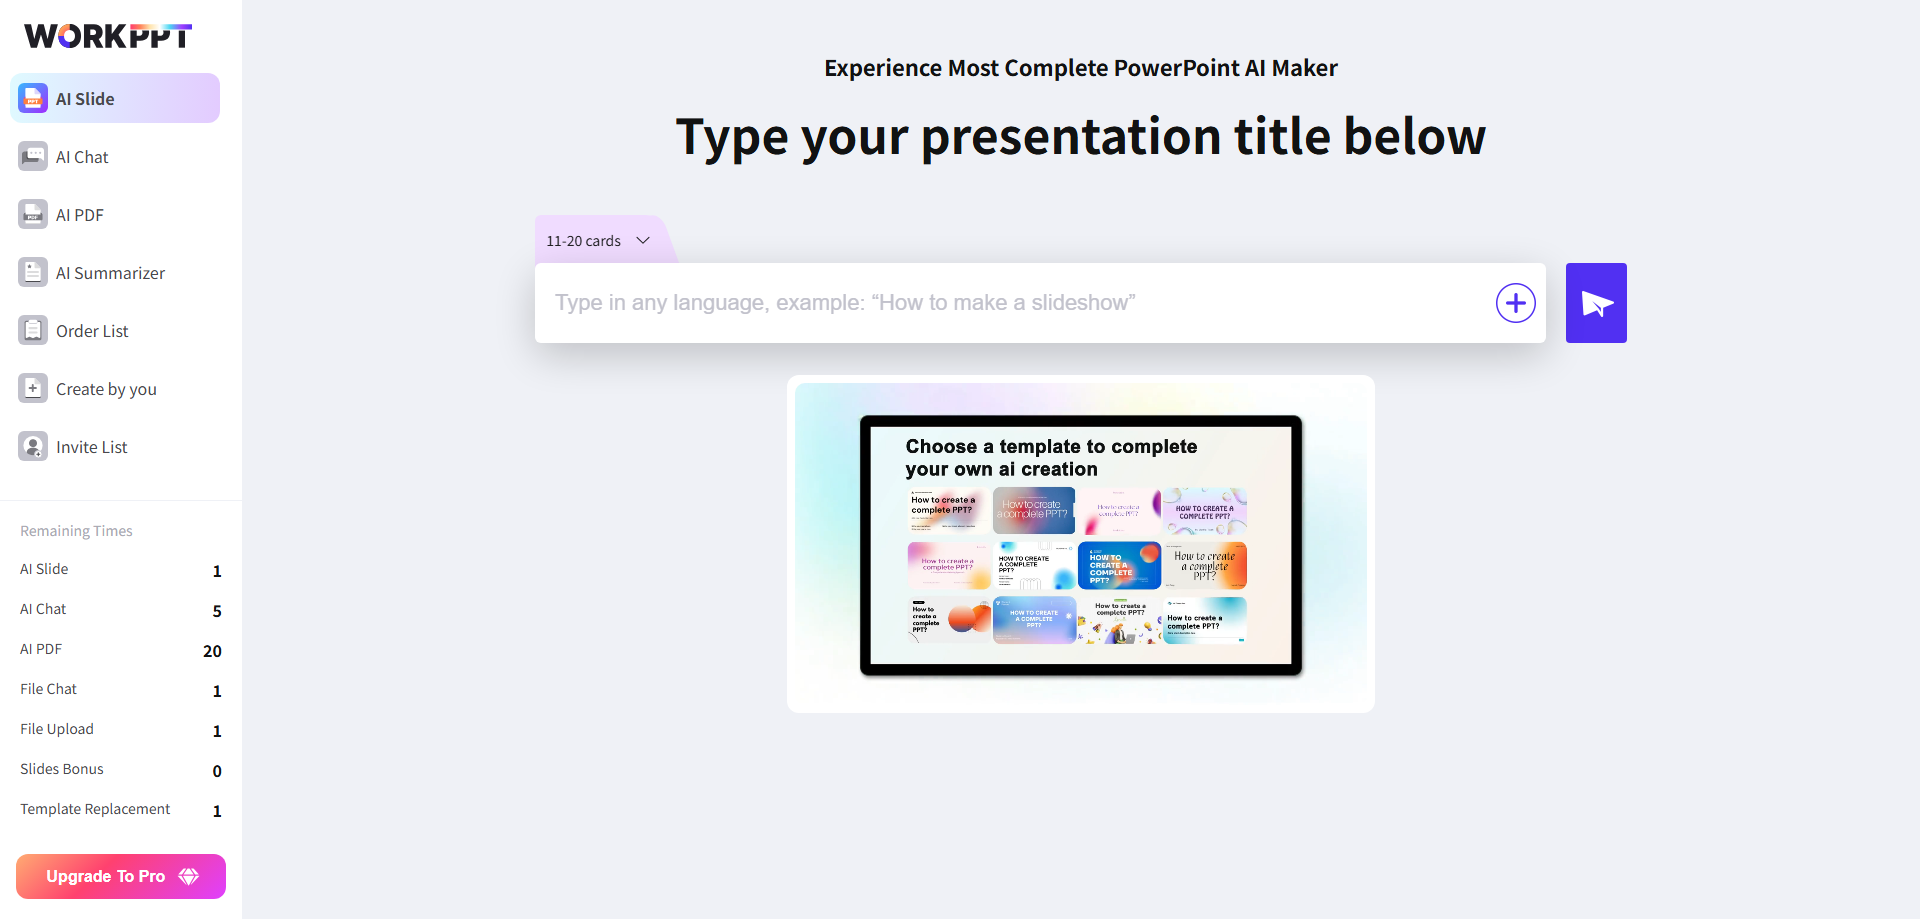
WorkPPT AI presentation maker, can generate a variety of design options for you based on your content, including creative text layouts. You don’t need to be a design expert to create professional slides.
Our AI can automatically recommend and apply text effects like curves and bends that perfectly match your topic and visual style, turning your ideas into a reality in seconds.