author image

A plain white slide in presentation can fell so boring. Inserting a picture as PowerPoint background can instantly make your presentation look professional and memorable. In this guide, you’ll learn why picture backgrounds matter, how to set picture in PowerPoint effectively, and the best practices to make your slides shine.

A good background image can enhance your presentation, make it fell more professional, and support your message, but only if you use it wisely. Here’s why it matters:

  • Boosts Visual Appeal: Adding a relevant picture background instantly transforms the tone of your presentation.
  • Brand Consistency: Use branded images, such as office photos or product shots, to stay on-brand.
  • Context and Emotion: A relevant picture background sets the mood. For example, nature photos for calm topics, cityscapes for business ones.
  • Better Storytelling: When the image matches your messgae, it helps the audience focus and remember your points.

How to Insert a Picture as a Background in PowerPoint

PowerPoint offers multiple ways to set a picture as your slide background. You can apply it to a single slide or across your entire presentation.

Option 1: Set a Picture as Background for One Slide

This is the simplest and most common method of how to insert a picture as a background in PowerPoint:

Step 1: Open your PowerPoint presentation.

Step 2: Select the slide you want to edit.

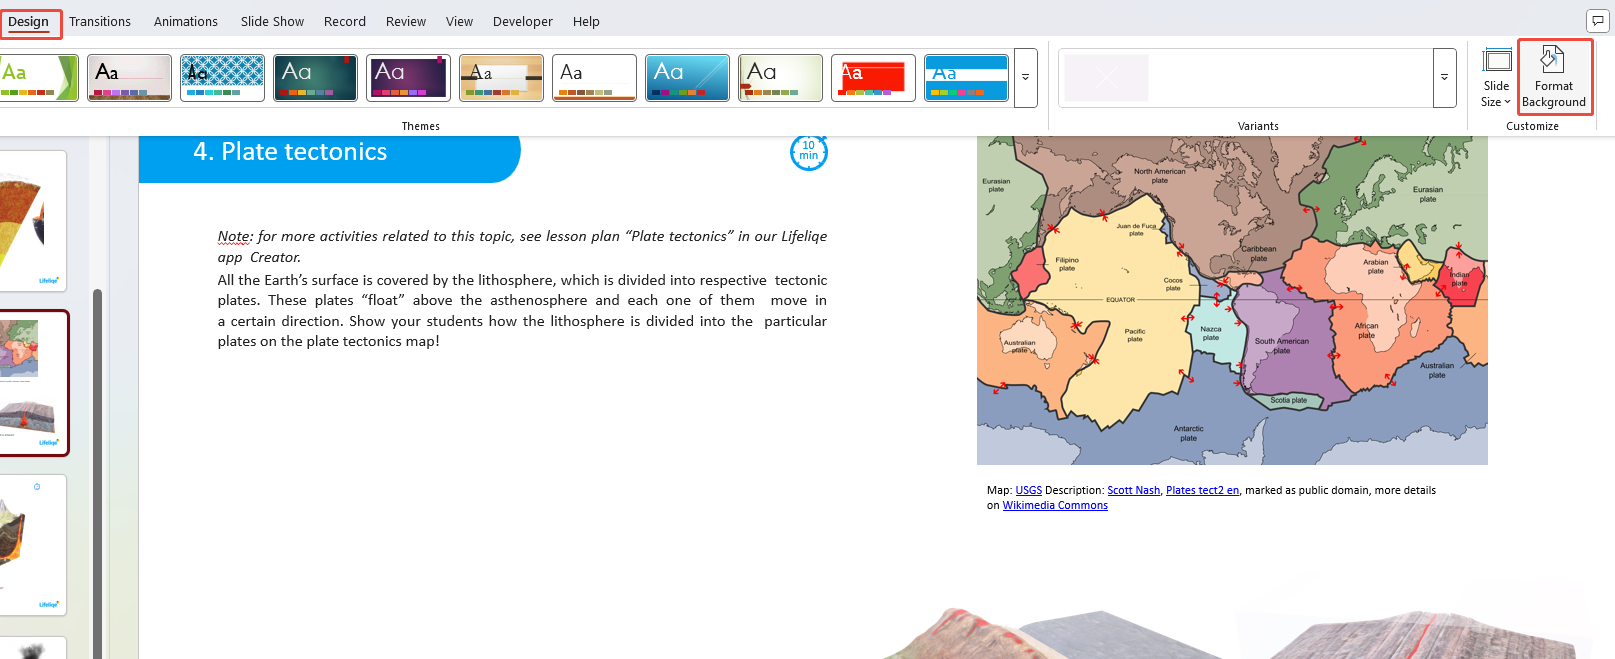
Step 3: Click “Design” on the top menu and choose “Format Background”.

click format background

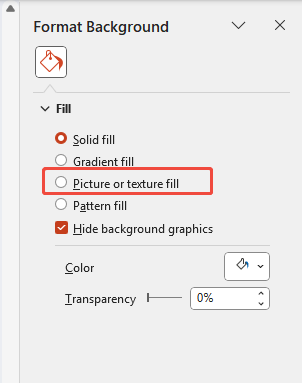
Step 4: In the right panel, select “Picture or texture fill”.

select picture or texture fill

Step 5: Click “Insert” → “From a File”, or choose “Online Pictures”.

choose from a file to upload image

Step 6: Browse and insert your desired image.

Step 7: Adjust the “Transparency” slider if the picture looks too bright or distracting.

If your text becomes hard to read, increase the transparency to around 60–70%, or add a semi-transparent overlay behind your text.

workppt banner 2

Is There an Easier Way?

With WorkPPT, you can turn any idea into a ready-to-use PPT in minutes.

Option 2: Insert a Picture as Background to All Slides

If you want a consistent background across the entire deck:

Step 1: Go to “View” → “Slide Master”.

go to slide master view

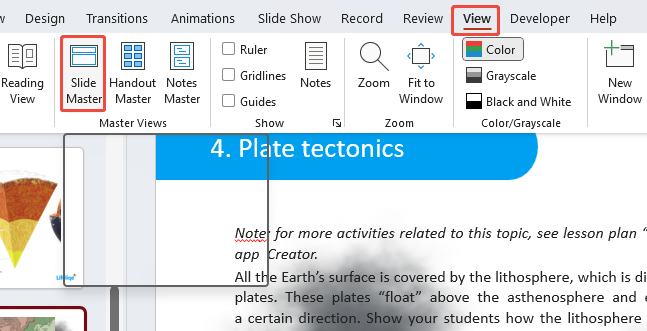
Step 2: Select the topmost slide in the left panel (Master Slide).

Step 3: Click “Background Styles” → “Format Background” → “Picture or texture fill”.

choose picture or texture fill

Step 4: Insert your picture and adjust transparency.

Step 5: Click “Apply to All”, then exit the “Slide Master” view.

Ensure a good contract. Dark text on dark images or light text on bright images is hard to read, so consider using semi-transparent overlays if needed.

[You May Also Like]: How to Highlight Text in PowerPoint

How to Find the Perfect PowerPoint Background Picture

Finding the right image is just as important as inserting it. The wrong picture can make your slides look cluttered or unreadable.

Here’s how to choose wisely:

  • Stay Relevant: Use images related to your topic. For a marketing pitch, use product or customer imagery. For an education deck, use abstract or classroom visuals.
  • Keep It Simple: Avoid images with too many colors or details that compete with your text.
  • Use High Resolution: Choose at least 1920×1080 px to prevent pixelation on large screens.
  • Match the Tone: Light pictures suit minimal designs, while dark images work better for bold or cinematic slides.
  • Check Licensing: Use free stock sites like Unsplash, Pexels, and Pixabay offer high-quality, royalty-free images.

Now that you know where to find images, let’s look at best practices for using them effectively.

[You May Also Like]: How to Convert Keynote to PowerPoint

Best Practices and Notes for Picture Backgrounds in PowerPoint

The goal of adding images as backgrounds in PowerPoint is not decoration, but to design with purpose.

  • Less is More: Avoid overloading slides with visuals. One strong image per slide is better than multiple competing images.
  • Improve Readability: Use semi-transparent rectangles or overlays behind text.
  • Test Visibility: Always check readability in full-screen mode.
  • Compress Images: Go to File → Info → Compress Pictures to reduce file size without losing quality.
  • Be Consistent: Use similar tones or filters across slides for a cohesive look.
  • Preview your slides: Test your presentation to ensure everything is clear.

FAQs about How to Insert a Picture as a Background in PowerPoint

Q: Can I use different picture backgrounds for different PowerPoint slides?

A: Yes. Just repeat the “Format Background” process for each slide individually instead of using “Apply to All”.

Q: Can I remove or reset a PowerPoint background image?

A: Absolutely. Right-click the slide → Format Background → choose Solid Fill or click Reset Background.

Q: What's the best image format for PowerPoint backgrounds?

A: Use JPG or PNG. PNG is ideal for transparent or detailed images; JPG is smaller and faster to load.

Q: Can I use online images directly from PowerPoint?

A: Yes. PowerPoint’s Insert → Online Pictures lets you search Bing Images (with Creative Commons filters applied).

Q: Why does my PowerPoint background picture look stretched?

A: Make sure your image matches PowerPoint’s aspect ratio (typically 16:9). Crop or resize before inserting.

💬 Conclusion:

By selecting the right images, inserting them properly, and following best practices, your slides become both memorable but also persuasive. Visuals should amplify your message, not compete with it. With the tips in this guide, you can create presentations that engage audiences from the first slide to the last.