
Setting your slides to move forward automatically is easy. You do not have to click to go to the next slide. Follow these steps:
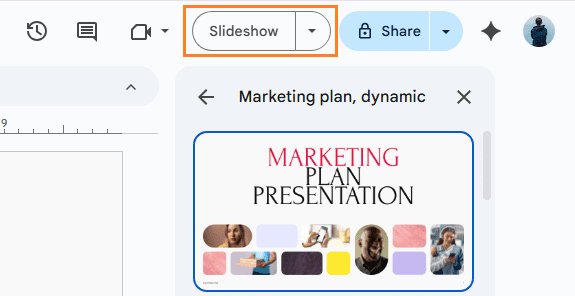
- 1. On Google Slides, click on the “Slideshow” button at the top right. The slideshow will start in full screen.
- 2. Move your mouse to the bottom left. You will see a toolbar appear.
- 3. Click on the three dots (More options) at the bottom left.
- 4. Select “Auto-advance (when played)” from the menu.

- 5. Choose how many seconds you want each slide to show. You can pick 1, 2, 3, 5, 10, 15, 20, 30 seconds, or 1 minute.
Now, your slides will automatically advance after the time you picked. If you want precise timing (for example, exactly 20 seconds per slide), select “Every 20 seconds.”
Making your slideshow repeat automatically is helpful for unattended presentations. Here is how to loop your Google Slides:
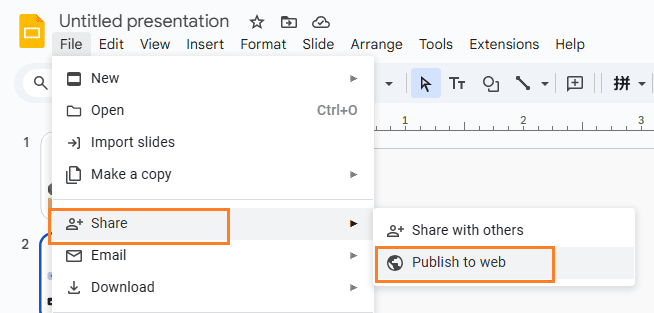
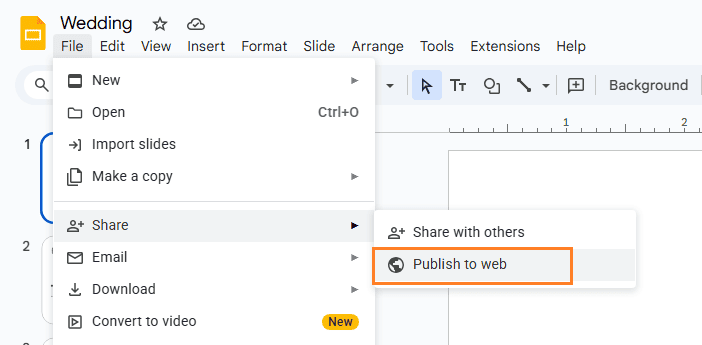
- Click the “File” menu at the top left.
- Go to “Publish to the web…” from the menu.
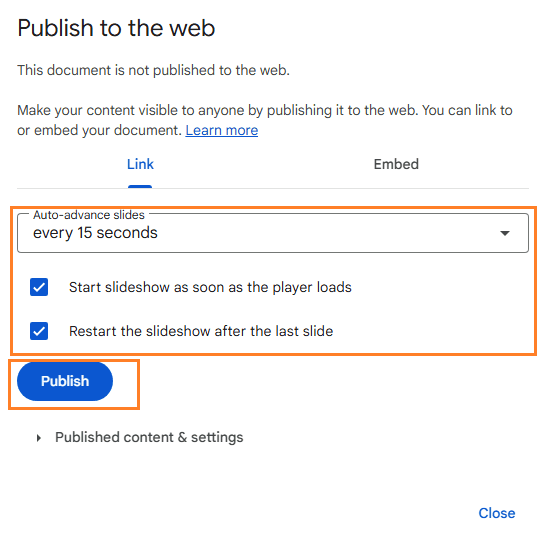
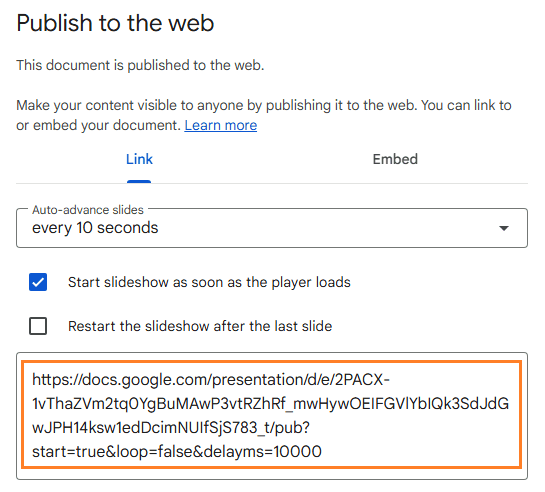
- In the pop-up, select the “Link” tab.
- Set the “Auto-advance slides” timing (such as every 20 seconds).
- Check the box for “Start slideshow as soon as the player loads.”
- Also check the box for “Restart the slideshow after the last slide.”
- Click “Publish.”
- Copy the link and open it in a new tab.
The slideshow will start automatically, advance on its own, and loop forever until you close the window.
Google Slides does not offer a built-in option to auto-advance slides every 20 seconds. However, you can easily achieve this by publishing the presentation to the web and adjusting the timing in the link. Follow the steps below:
Step 1: Open “Publish to the Web”
Open your Google Slides presentation. Click File in the top menu, hover over Share, then select Publish to web.
Step 2: Choose an Auto-Advance Interval
In the Publish to web window, switch to the Link tab.
Under Auto-advance slides, select Every 10 seconds. Google Slides does not show a 20-second option, but this will be fixed later by editing the link.
Check the box Start slideshow as soon as the player loads. This ensures the presentation begins playing immediately when opened. Click Restart the slideshow after the last slide if you need it play on loop.

Step 3: Publish the Presentation
Click Publish, then confirm by selecting OK.
Your presentation is now published to the web.
Step 4: Copy the Published Link
Copy the link provided in the Publish to web window. You will modify this link to set the correct timing.
Step 5: Change the Timing to 20 Seconds
Paste the link into a text editor or browser address bar.
At the end of the URL, find a number like 10000 (this represents 10 seconds in milliseconds).

Replace 10000 with 20000, then copy the updated link.
Step 6: Test the 20-Second Slide Timing
Open the modified link in a new browser tab.
Confirm that each slide now advances automatically every 20 seconds.
Sometimes, you want a video to play in a loop inside your presentation, such as an animated logo or a short clip.
How to loop a video in Google Slides:
- 1. Click on the slide where you want to add the video.
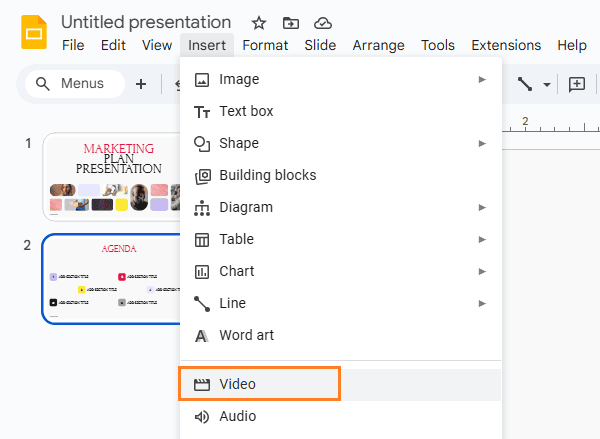
- 2. Go to “Insert” > “Video.”
- 3. You can paste a YouTube URL or select a video from Google Drive.
- 4. Once the video is added, click it to select.
- 5. Click “Format options” in the toolbar.
- 6. In the right sidebar, find “Video playback.”
- 7. Check the box for “Loop” (if available).

- 8. You can also set the video to “Autoplay when presenting.”
Now, when you play your slideshow, the video will play automatically and loop until you leave that slide.
Google Slides makes it simple to create beautiful, automated, and looping slideshows for any occasion. Whether you are presenting to a crowd, displaying photos at an event, looping a video clip, or making a repeating digital sign, Google Slides gives you free and flexible options.
If you want to make a presentation easily and beautiful, try WorkPPT AI presentation maker free today!