author image

When you’re creating a Google Slides presentation, you might want to split your content into two or more columns to improve readability and structure. The problem is, Google Slides lacks the native one-click column feature.

But don’t worry. In this guide, you’ll find two proven workarounds that let you fix how to make columns in Google Slides.

You might think the answer is no, but actually, you can do it.

With a few manual tweaks or by inserting tables, you can easily create column-like layouts in Google Slides. These methods not only mimic real columns but also help you organize information better and improve readability.

Plus, you get more precise control over how everything looks. Here’s a simple breakdown of both approaches and how to use them.

How to Make Text Columns in Google Slides (For One and More)

First, let’s look at how to make text columns in Google Slides. The idea is simple: you split one long block of text into separate text boxes to create two or more columns. This method works well when you need precise control over the length and position of each column.

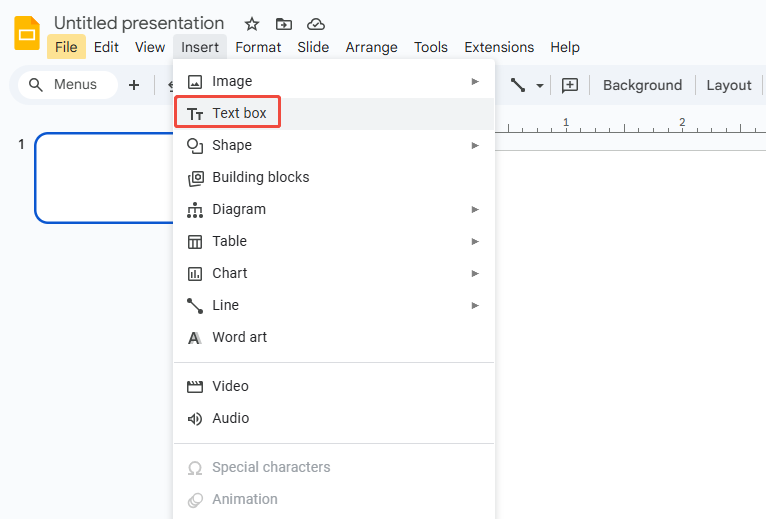
Step 1: Open a new blank Google Slides file. Go to “Insert > Text box”.

insert a text box

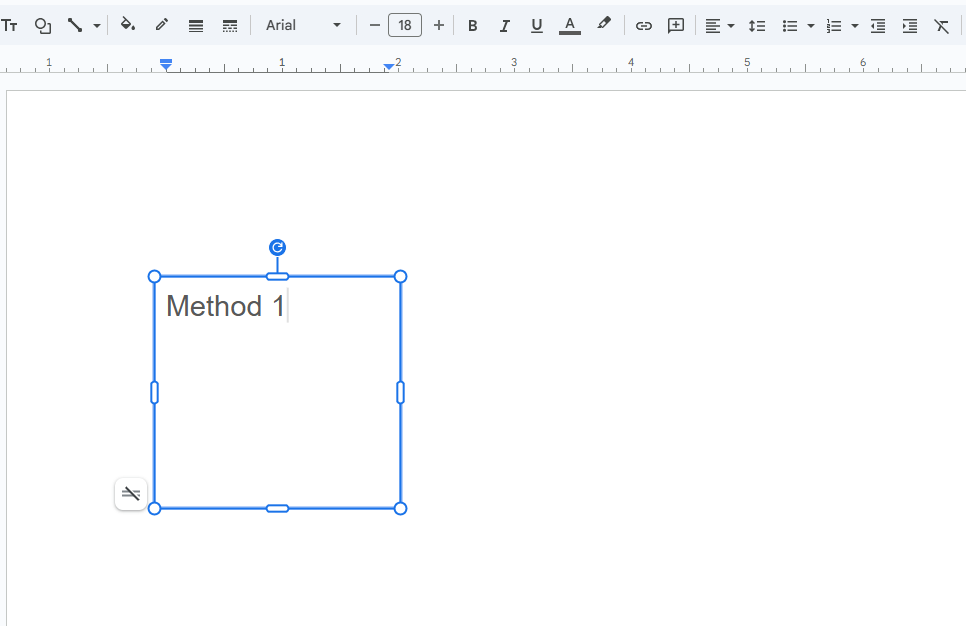
Step 2: Draw your first text box on the slide. Resize it to fit the space for your first column, then type in your content.

enter your text content

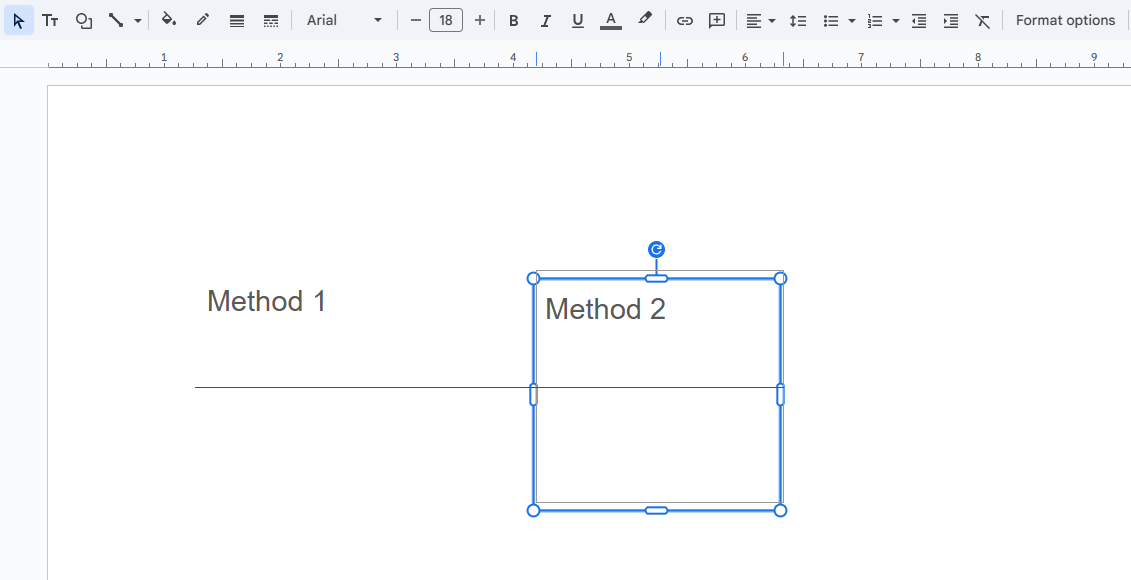
Step 3: Select the text box and press Ctrl/Cmd + C and Ctrl/Cmd + V to copy and paste it.

Step 4: Drag the pasted text box next to the first one to create your second column. Use the red alignment guides to make sure both columns line up perfectly.

align the columns

Step 5: If you need more columns, switch the slide layout to Title and Two Columns. Then resize the existing text boxes to make room for additional ones.

Step 6: Copy and paste one of the columns again and move it into place. Adjust their sizes and spacing, and you’ll have a clean two- or three-column layout, similar to a newspaper.

How to Make Table Columns in Google Slides (For One and More)

This is the most common and fastest method for Google Slides columns. It works especially well when you need structured content, side-by-side lists, or layouts that mix text with icons.

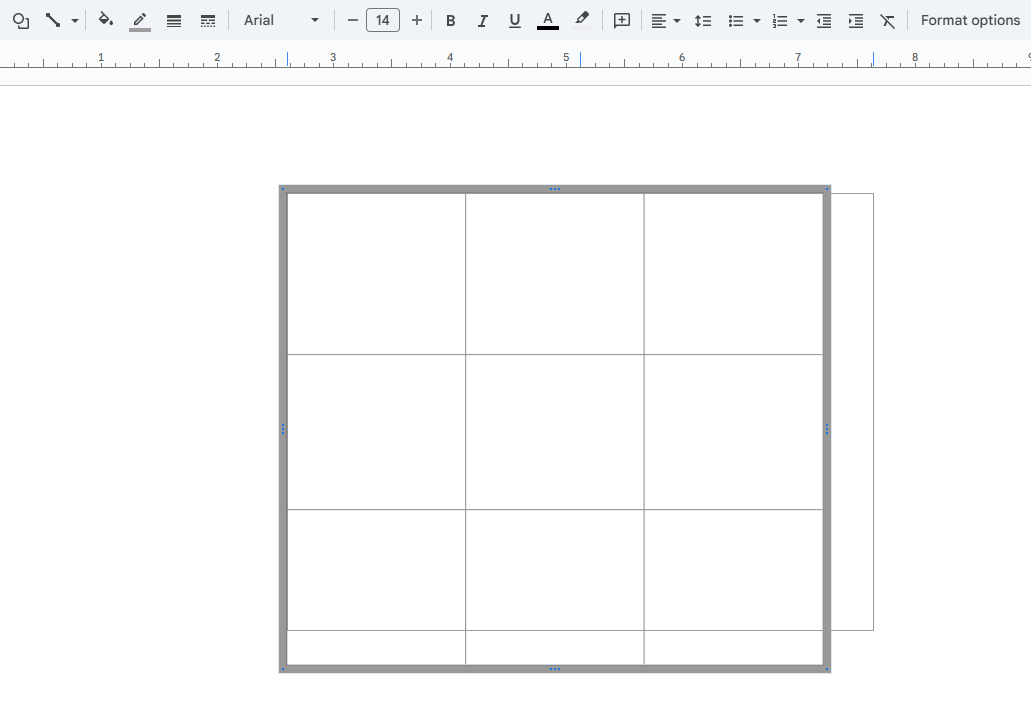
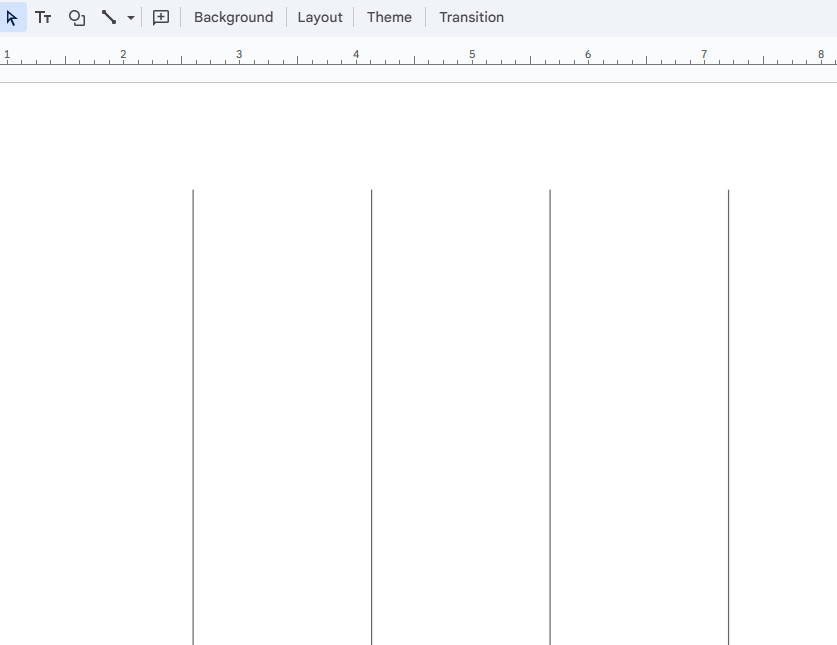
Step 1: Click “Insert > Table” and choose the number of columns and rows you need.

insert a table

Step 2: After the table appears, drag its borders to adjust the column and row sizes.

adjust the table line and row

Step 3: Add your text, images, GIFs, or icons inside the table. Slides will automatically handle alignment and spacing.

Step 4: Select the table, then set the border width to 0 or change the border color to transparent.

set the boder transparent

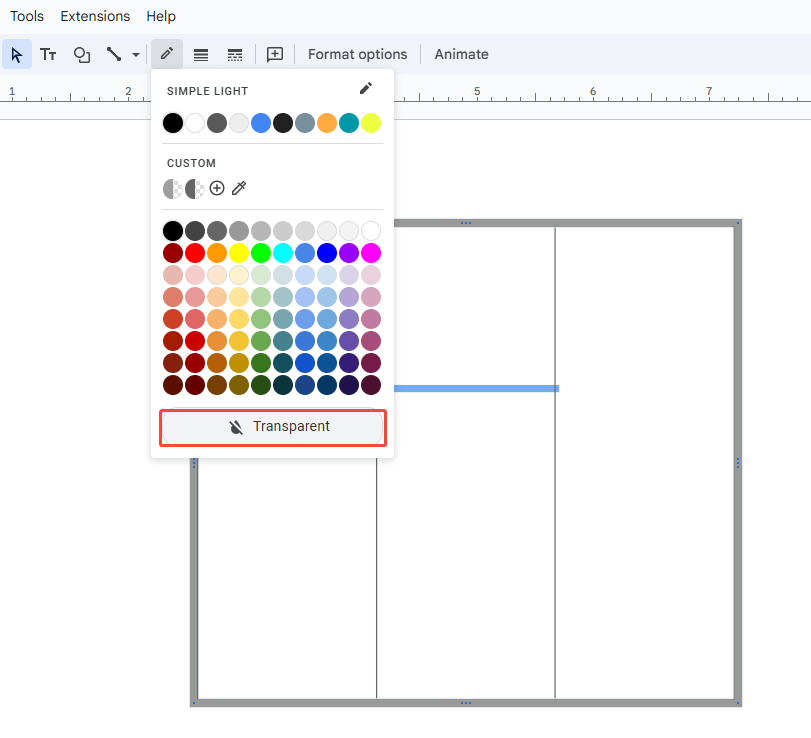
Step 5: The grid lines will disappear, leaving your content neatly divided into columns in Google Slides.

check the final effect

Step 6: If you need more columns or rows, right-click a cell to insert them, then resize as needed.

If you want maximum efficiency and professional design, consider using a dedicated presentation tool like WorkPPT AI slides generator. It comes with a wide range of pre-designed column layouts and structured templates that you can use instantly.

workppt banner 2

Is There an Easier Way?

WorkPPT save you the hassle of manually setting up master layouts and making your design process faster and easier.

Design Tips of How to Add Columns in Google Slide

Knowing how to add columns in Google Slides isn’t enough, you also need to make sure your columns look good and are easy to read. Here are some practical design tips:

  • Keep column spacing consistent: Use guides or grids to ensure enough space between columns.
  • Standardize line spacing and font size: This helps both columns look visually balanced.
  • Use a master slide for efficiency: If you need columns on multiple slides, set up a table layout in “View > Master” to save time.
  • Separate columns with background or color blocks: Apply soft background colors to highlight content and create a clear hierarchy.
  • Align and distribute evenly: Use “Align > Distribute” to make sure spacing between columns is uniform.

FAQs about Columns in Google Slides

Q: Can I add a background color to each column in Google Slides?

A: Yes. If you’re using a table to create multiple columns, you can set a different background color for each cell. If you’re using text boxes, you need to set the background color for each box individually.

Q: Will a multi-column layout affect theme fonts or auto-layouts?

A: It won’t affect your theme fonts, but it can sometimes conflict with the default placeholders. Before an important presentation, it’s best to finalize your multi-column layout to prevent automatic reformatting.

Q: Can I copy multi-column text from Google Docs into Slides?

A: You can, but the columns won’t be preserved, you’ll need to adjust them manually. To keep the layout, export your Docs as a PDF and insert it as an image.

Q: Will multi-column layouts display properly on mobile?

A: Not always. Google Slides doesn’t automatically adjust columns on phones, so content can look cramped. Keep columns wide, reduce text per column, and avoid small fonts for better mobile readability.

💬 Conclusion:

Although Google Slides doesn’t have a built-in column feature, you can still create clean, column-style layouts using text boxes and tables. Columns instantly improve the structure of your slides and make your presentation look more polished.

If you want a faster solution, WorkPPT is your best option. It lets you skip the manual adjustments and jump straight into creating content—perfect for boosting both efficiency and quality.

⭐⭐⭐⭐⭐ Rated 4.8 by 1.3M Users