
Word Art is a special feature in Google Slides that lets you add stylized text. Unlike regular text boxes, Word Art allows you to add a border color and a fill color to your text. This is the closest you can get to true outlined text in Google Slides.
Here’s how to use Word Art to outline text:
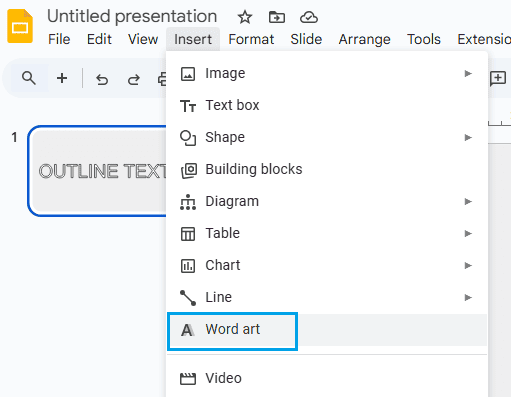
- 1. Insert Word Art:
- Go to the menu and click on
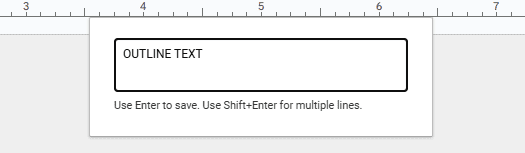
Insert>Word Art. - A text box will appear. Type your desired text and press
Enter.

- Go to the menu and click on
- 2. Customize Border and Fill:
- Click on your Word Art text to select it.
- In the toolbar, you’ll see options for
Fill color(paint bucket icon) andBorder color(pencil icon). - Click on the
Fill colorto choose the inside color of your letters. - Click on the
Border colorto choose the outline color for your letters. - You can also click the
Border weighticon to make the outline thicker or thinner.
- Resize and Position:
- Drag the corners to resize your Word Art.
- Move it to where you want it on your slide.


If you want the outline effect on regular text (not Word Art), you can use the drop shadow feature to mimic an outline. Here’s how:
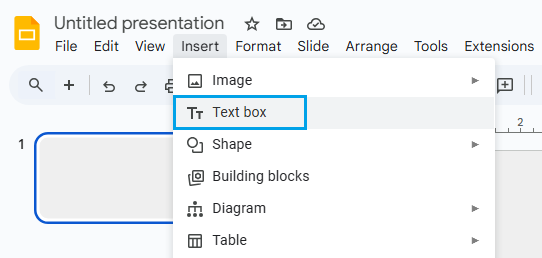
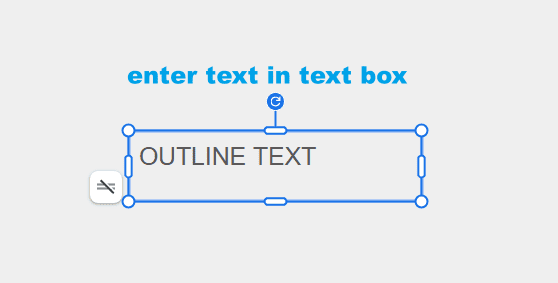
- 1. Add a Text Box:
- Click on
Insert>Text box.
- Click on
- Type your text as usual.
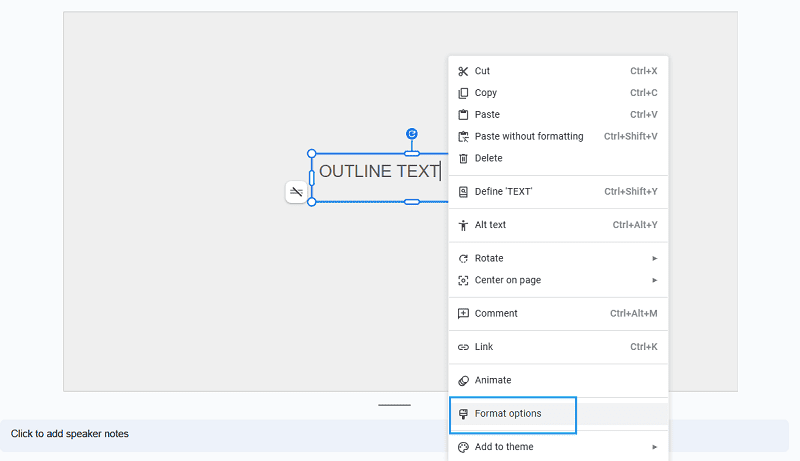
- 2. Apply Drop Shadow:
- Right-click the text box and select
Format options.
- Right-click the text box and select
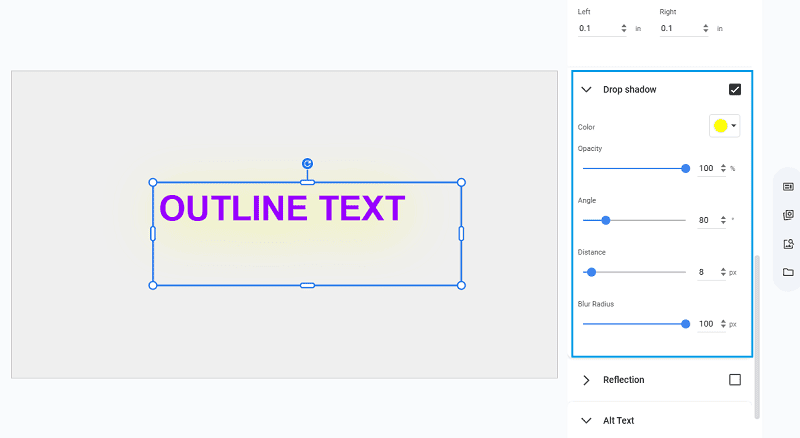
- In the sidebar, find and expand the “Drop shadow” section.
- Turn on the drop shadow.
- Set the color to the outline color you want.
- Set the
Transparencyto 0% (fully visible). - Set the
Blur radiusto 0 (sharp edge). - Adjust the
DistanceandAngleso the shadow appears evenly around your letters, creating an outline effect.
For the most control, you can create outlined text using a graphic editor (like Canva, Photoshop, or even free tools like Pixlr or Photopea), then import the image into Google Slides.
Here’s how:
- Design Outlined Text in an Image Editor:
- Open your favorite editor and create a new image with a transparent background.
- Add your text, and apply a stroke or outline effect.
- Export or download the image as a PNG file (to keep the background transparent).
- Insert the Image into Google Slides:
- Go to your slide and click
Insert>Image>Upload from computer.
- Go to your slide and click
- Select your outlined text image.
- Resize and position as needed.


This method allows you to use any font, color, and outline thickness. It is also perfect for unique styles, logos, or effects not possible in Google Slides alone.