
Recording your Google Slides presentation is useful for online sharing. Trouble with how to record a presentation on Google Slides? Don’t worry! This guide will show you how to record on Google Slides with audio and video step by step.
The quick answer is no. Google Slides itself does not allow direct recording. You need to use a screen recording tool to capture your presentation as you present it.
Before Recording on Google Slides: A 4-Step Checklist
Preparation is key to a great recording. Follow these steps before you hit record:
1. Finalize Your Slides
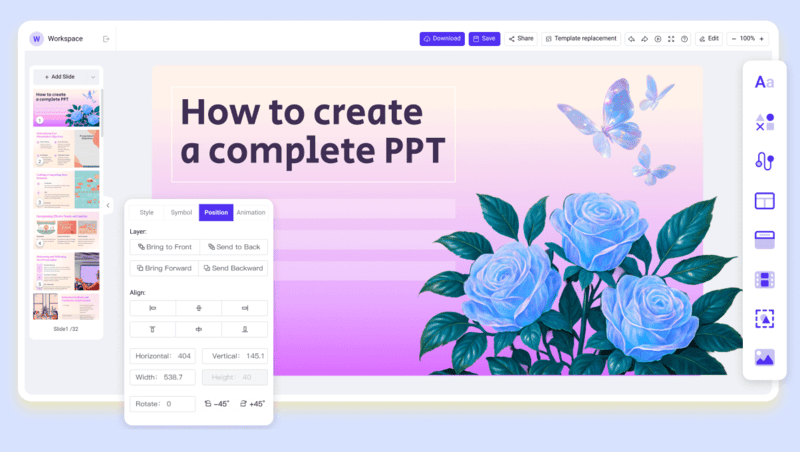
First, make sure your presentation is polished and ready to go. You can get help from WorkPPT AI Presentation Maker. By using WorkPPT, you save hours on formatting and design, so you can focus more on preparing your delivery. The result is a polished, high-quality presentation that’s ready to impress when recorded.
💡 Here’s what you can do with WorkPPT:
- 1. AI-Generated Content: Turn a simple topic into a clear outline and professional slide with just a few clicks.
- 2. Pre-Designed Templates:: Offer 5000+ diverse templates to upgrade the look of your slides.
- 3. AI Assitant: Get inspiration or ideas from built-in AI chat.
- 4. Seamless Integration: Supports multiple export formats and imports seamlessly into Google Slides without formatting issues.
- Windows Game Bar / macOS Screenshot Tool:It’s already on your computer and completely free. Great for simple recordings without needing extra features.
- Loom / Screencastify: These are browser extensions that let you record and share a link to your video in seconds.
- Zoom/Google Meet: Start a meeting, share your slides, and hit “Record.”
- OBS Studio:It has a learning curve but offers the most flexibility.
Method 1:Recod Presentation on Google Slides with Built-in Tools
On Windows: Game Bar
1. Open your Google Slides presentation that you are ready to record. Then click “Slideshow” to present.
2. Then press the Windows Key + G on your keyboard to launch the Game Bar. A set of widgets will appear over your screen.
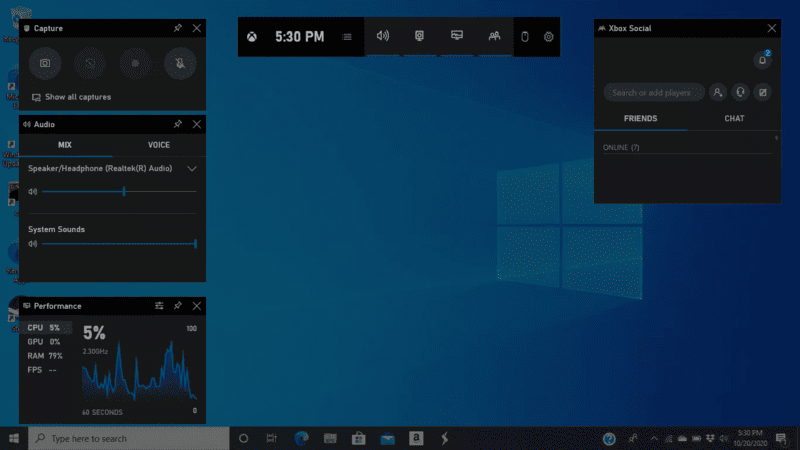
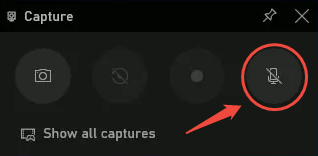
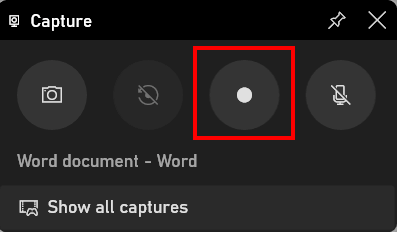
3. For an Audio Recording: Turn on Microphone in “Capture” widget(or use the shortcut Windows Key + Alt + M).
4. Start Recording: Click the Start Recording button (or use the shortcut Windows Key + Alt + R). The widgets will disappear, and a small recording timer will appear.
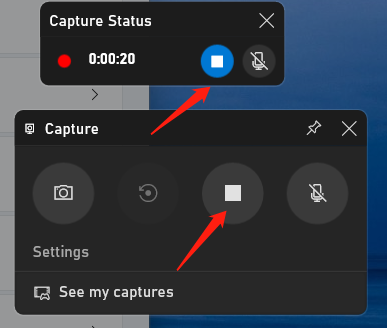
5. Stop Recording: When you’re finished, click the blue Stop button on the timer (or press Windows Key + Alt + R again).
On Mac: Screenshot Toolbar
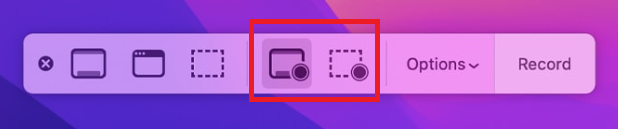
1. Press Command + Shift + 5 on your keyboard to launch the Screenshot Toolbar. In the toolbar, choose either “Record Entire Screen” or “Record Selected Portion.”
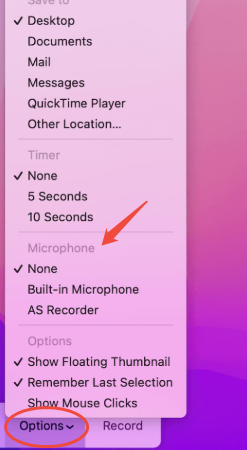
2. For an Audio Recording: Click the “Options” menu in the toolbar. Under the “Microphone” section, make sure you select “Built-in Microphone” or any external mic you have connected.
4. Present Your Slides and start Recording: Click the Record button.
5. Stop Recording: When you are done, click the Stop icon (a circle with a square inside it) in the menu bar at the top of your screen.
After the screen recording is completed, a thumbnail will briefly appear at the bottom right corner of the screen. You can perform any of the following actions:
- Swipe to the right to save the file and make the thumbnail disappear immediately.
- Drag the thumbnail onto the document, email, memo or “Finder” window.
- Click on the thumbnail to open the window. From there, you can mark screenshots or trim screen recording files, or share them.
✍ [You May Also Like]: How to Record PowerPoint Presentations with Audio on Any Device
Method 2: Use Google Extension (Best for Recording with Your Face)
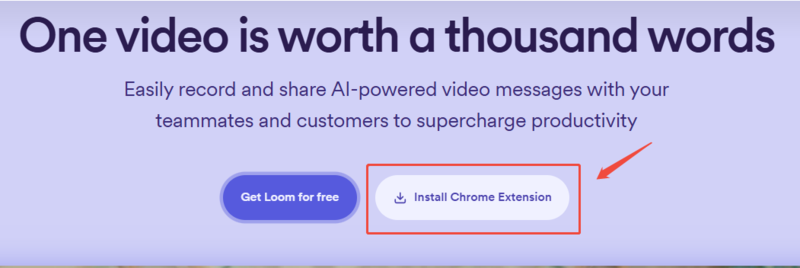
To record your presentation with your face is the best way to connect with your audience. Using third-party tools or Google extensions can achieve this.Here, let’s take Google Chrome as an example:
1. Get the extension on the official website.
2. Click Loom extension and choose to record your Current tab, your Microphone, and your Camera(If you want to record your audio, just turn off the camera). You’ll usually see a small circle with your face appear on the screen.
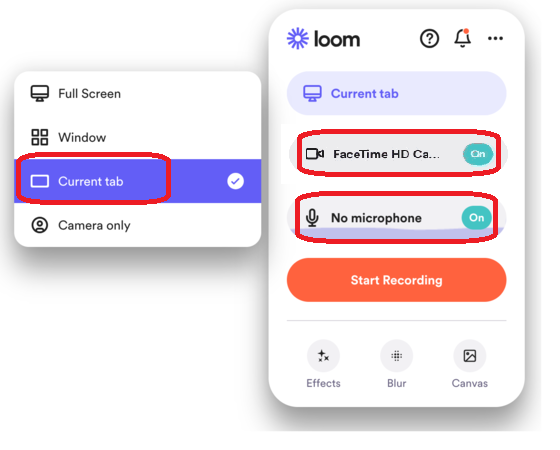
3. Hit “Start Recording” and start your presentation! Your audience will now see both your slides and you presenting them.
4. When you’re done, stop the recording. Your video presentation is now ready!
Tips for Recording on Good Slides
- Find a Quiet Place – Record in a room with minimal background noise.
- Good Lighting is Key – Sit facing a window or a lamp. Good lighting makes your video look much more professional.
- Look at the Camera – It can be tempting to look at your slides, but try to look directly at your webcam when speaking. This creates a connection with your viewers, just like making eye contact.
- Speak Clearly – Speak at a steady, calm pace. Don’t rush through your points.
- Do a Test Run – Record the first 30 seconds of your presentation and watch it back to check your audio and video quality before recording the whole thing.
FAQs Related to Record on Google Slides
Q1: Why I can't find the record button on Google Slides?
A: Google Slides does not include a record button. That’s why you won’t see a direct option to record. To capture your presentation, you’ll need to use external apps such as Loom or Zoom.
Q2: How do I record myself doing a presentation on Google Slides?
A: Open your slides in Present mode, turn on your webcam, and start recording with both screen and camera.
Q3: Why do I have an echo in my recording?
A: Echo usually happens when your microphone picks up sound from your speakers. To fix this, use headphones while recording, or reduce your speaker volume. Also, check that only one microphone input is active in your recording tool.
Q4: How to record voiceover on google slides?
A: Google Slides doesn’t support direct voiceover recording. However, you can record audio using tools and then add it to your slides. For a step-by-step tutorial, check our guide here: How to Add Voice Over on Google Slides?
💬 Conclusion:
Recording on Google Slides presentation is easier than you think. With the right tools, you can add audio, video, or even your face to make your presentation engaging.
👉Want to save even more time? Try WorkPPT. It helps you create stunning, professional slides instantly—so you can focus on recording and sharing your message.
Make sure your deck looks professional before recording. Let WorkPPT’s AI design your presentation in minutes.