How to Put an Image in a Shape in Google Slides (2025 Guide)
Are you tired of using the same old rectangular images in every presentation? Here is a simple trick about how to put an image in a shape Google Slides, make your presentation look more professional and visually engaging.
The fastest way to place a picture inside a shape is by using a feature called “Masking”. It might sound technical, but it only takes a few clicks. Follow these steps:
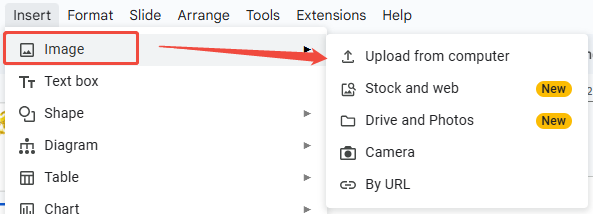
Step 1: Insert Your Image onto the Slide First, add the image you want to work with. You can do this by going to Insert > Image and choosing to upload from your computer, Google Drive, or search the web.
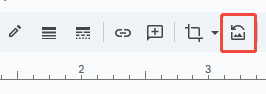
Step 2: Locate the “Crop” Icon in the Toolbar Select the image and find the Crop icon in the toolbar. This is the most important step! Don’t click the crop icon itself. Instead, click the tiny dropdown arrow right next to it.
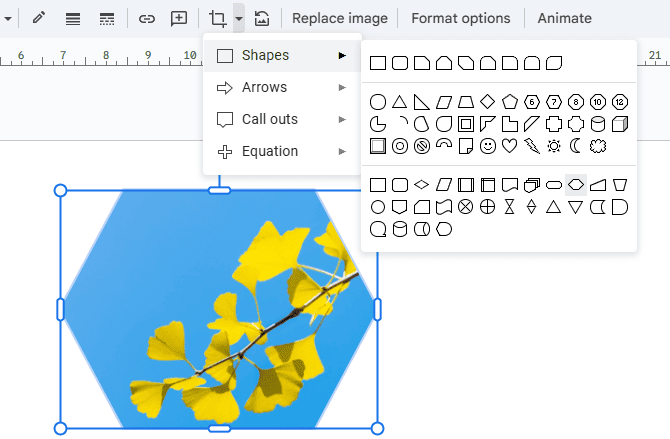
Step 3: Choose Your Desired Shape A menu will appear with four categories: Shapes, Arrows, Callouts, and Equation. Hover over “Shapes” and select the one you want, like an Oval, Rounded Rectangle, or a Star.
Step 4: Your Image is Now Shaped! Instantly, your rectangular image will be cropped into the shape you selected.
Make Slide Design Faster with WorkPPT🚀
Stop wasting time adjusting images and layouts in Google Slides. Try WorkPPT to create stunning slides in minutes.
Now that you have your shaped image, you can customize it to create a beautiful slide in photo frame effect.
Resize the Image: Click and drag the corners of the blue border to make the shaped image bigger or smaller.
Add a Border: With the image still selected, click the Border color icon in the toolbar (it looks like a pen). Choose a color for your frame.
Change Border Thickness: Next to the color tool, click the Border weight icon and choose a thicker line (like 4px or 8px) to make the frame more noticeable.
Change Border Style: You can even use the Border dash icon to create a dashed or dotted frame.
Q1: How to make a picture circle shape in google slides
A: Select the image → click the Crop arrow → choose Circle.
Q2: How to restore the original shape of an image?
A: It’s easy! Just click Reset image icon next to the Crop icon.
Q3: Can I insert multiple images inside one shape?
A: No, one shape only holds one image. But you can overlay or group shapes for a creative effect.
Q4: Why does my picture look stretched inside the shape?
A: Adjust the crop handles after applying the shape. Dragging helps resize the image without distortion.
💬 Conclusion:
Master how to put an image in a shape helps your slides stand out.The next time you build a slide deck, move beyond the rectangle and give your images some style.
⭐Bonus Tip: Use AI to Make Slides Faster If you often work with images and slide design, try WorkPPT – an AI presentation maker. With one click, you can generate slides, insert visuals, and design layouts automatically. It saves time while keeping your slides looking professional.
See how fast you can make a complete deck with WorkPPT:
As the AI Tools Laboratory Director and an expert in deep customization techniques for PowerPoint and Google Slides, I leverage my experience testing 87 AI tools to enhance creative processes. A Stanford dropout in Human-Computer Interaction, I am passionate about transforming repetitive tasks into opportunities for inspiration, believing that 'tools are servants, not masters'. At WorkPPT, I advocate for the creative freedom that comes from human-machine symbiosis.
The Ultimate Collection of How to Translate Google Slides
How to Record a Presentation on Google Slides (With Audio & Video)