

Method 1: Using Picture Layouts
This is the quick and easy way. PowerPoint already has built-in Picture Layouts feature. It offers 30 styles, each with a text box, making it ideal for collages requiring captions.
Step 1. Open PowerPoint, insert the photos you want to collage, and select them all in sequence.
Step 2. Click “Picture Format”, then locate “Picture Layout”. Clicking it reveals numerous layout options.
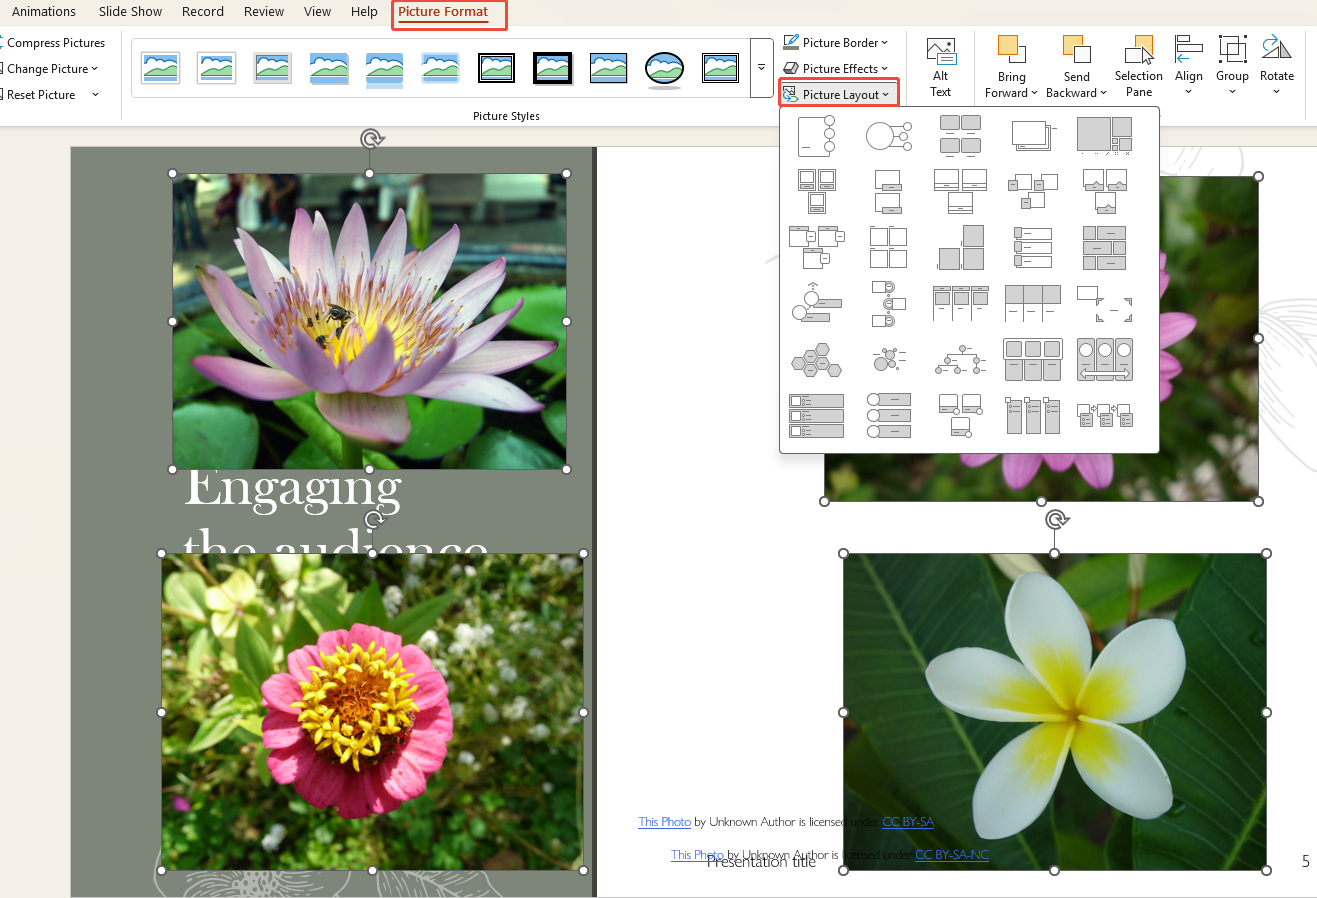
Step 3. Hover your mouse over each layout to preview the effect.
Step 4. Select your preferred layout, and the system will automatically arrange the photos.
Step 5. If you need to add text, simply type in the text boxes that appear.
More PowerPoint Tutorial: Make Perfect PPT>>
Method 2: Using the Microsoft Designer
Microsoft Designer is an intelligent design feature built into Office. A Microsoft 365 subscription is required to use it.
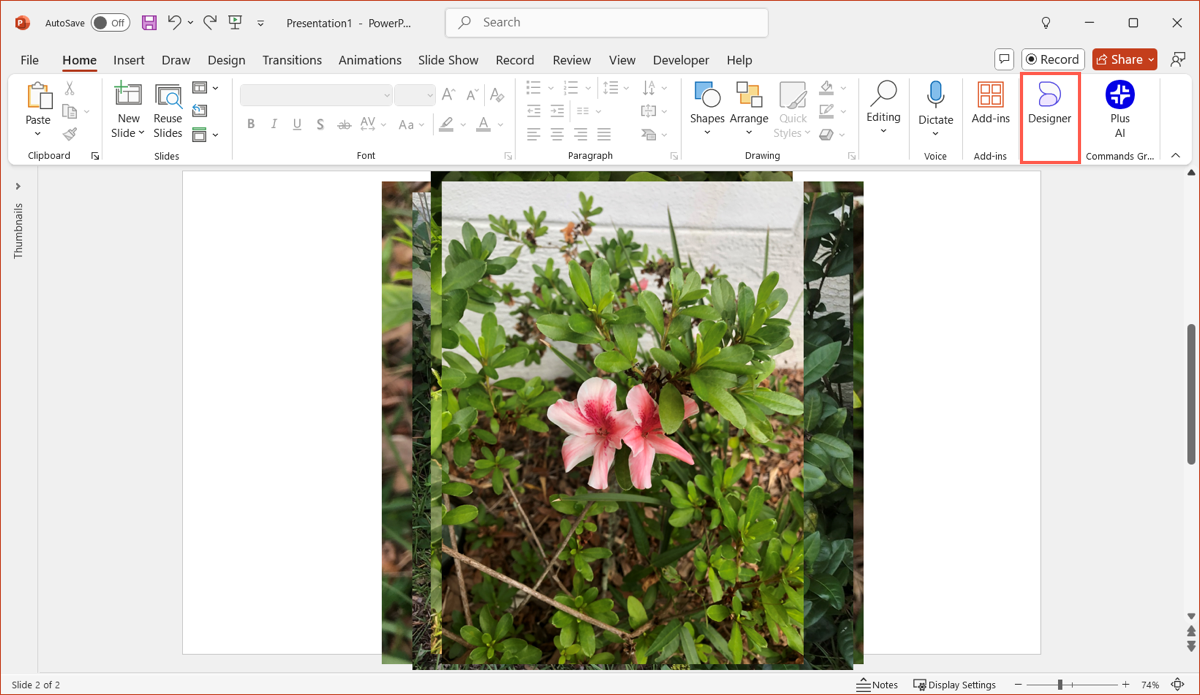
Step 1. Insert images into your PPT without selecting them.
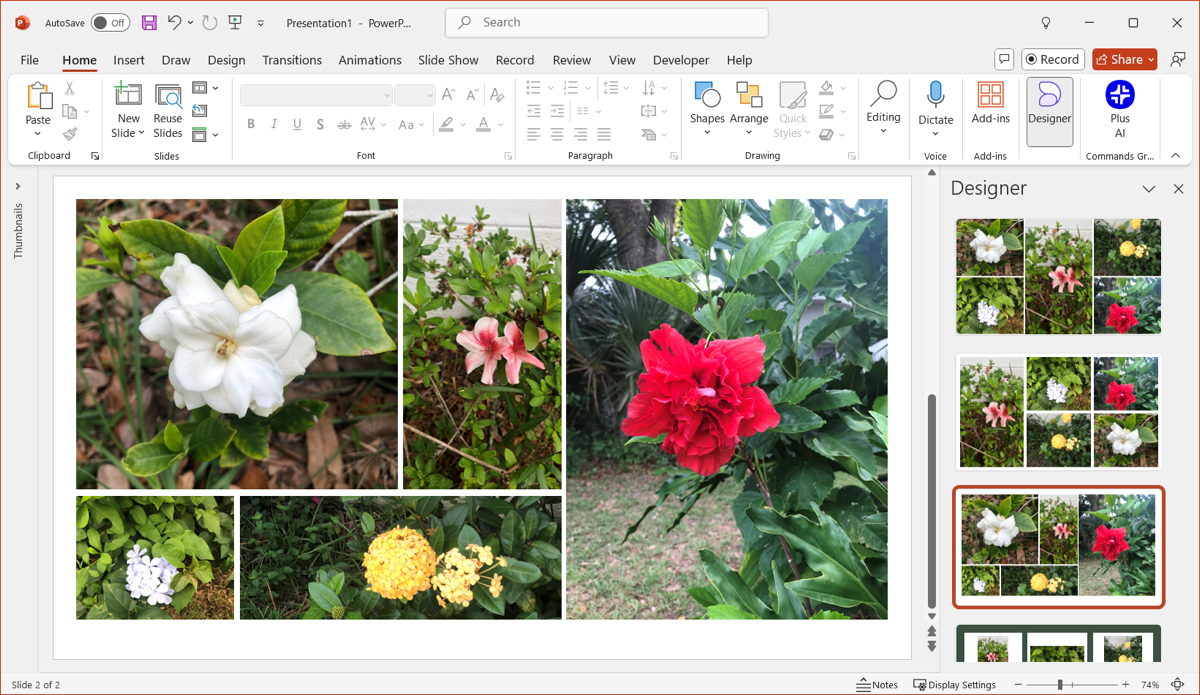
Step 2. Click “Designer” in the “Home” navigation. An auto-generated collage suggestion will appear in the sidebar.
Step 3. Select your preferred picture layout and apply it to get the collage.
If you’re short on time, PowerPoint Designer lets you create a layout in one click. However, the Designer only works in the latest version of PowerPoint. If you don’t see it, your version is likely the reason.
Method 3: Using PowerPoint Templates for Photo Collage
If you don’t have Microsoft 365 but still need templates, you can search for free PowerPoint templates to create photo collages.
Step 1. Click “File”, then “New”.
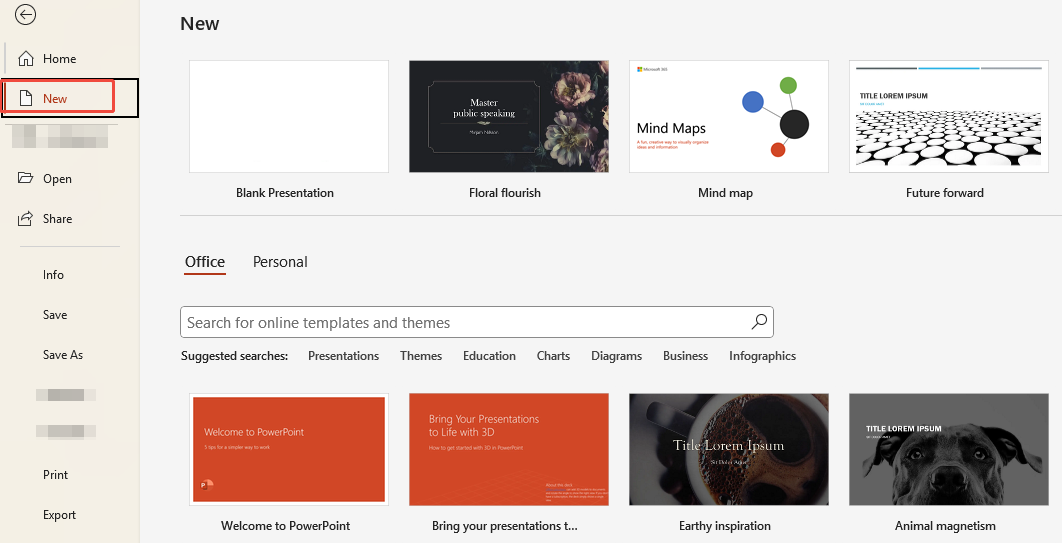
Step 2. Search for “photo collage” or “picture album” in the template library to find numerous templates.
Step 3. Select your preferred template and click “Create” to apply it.

Step 4. Replace the sample images and adjust the background and colors as needed to personalize your collage.
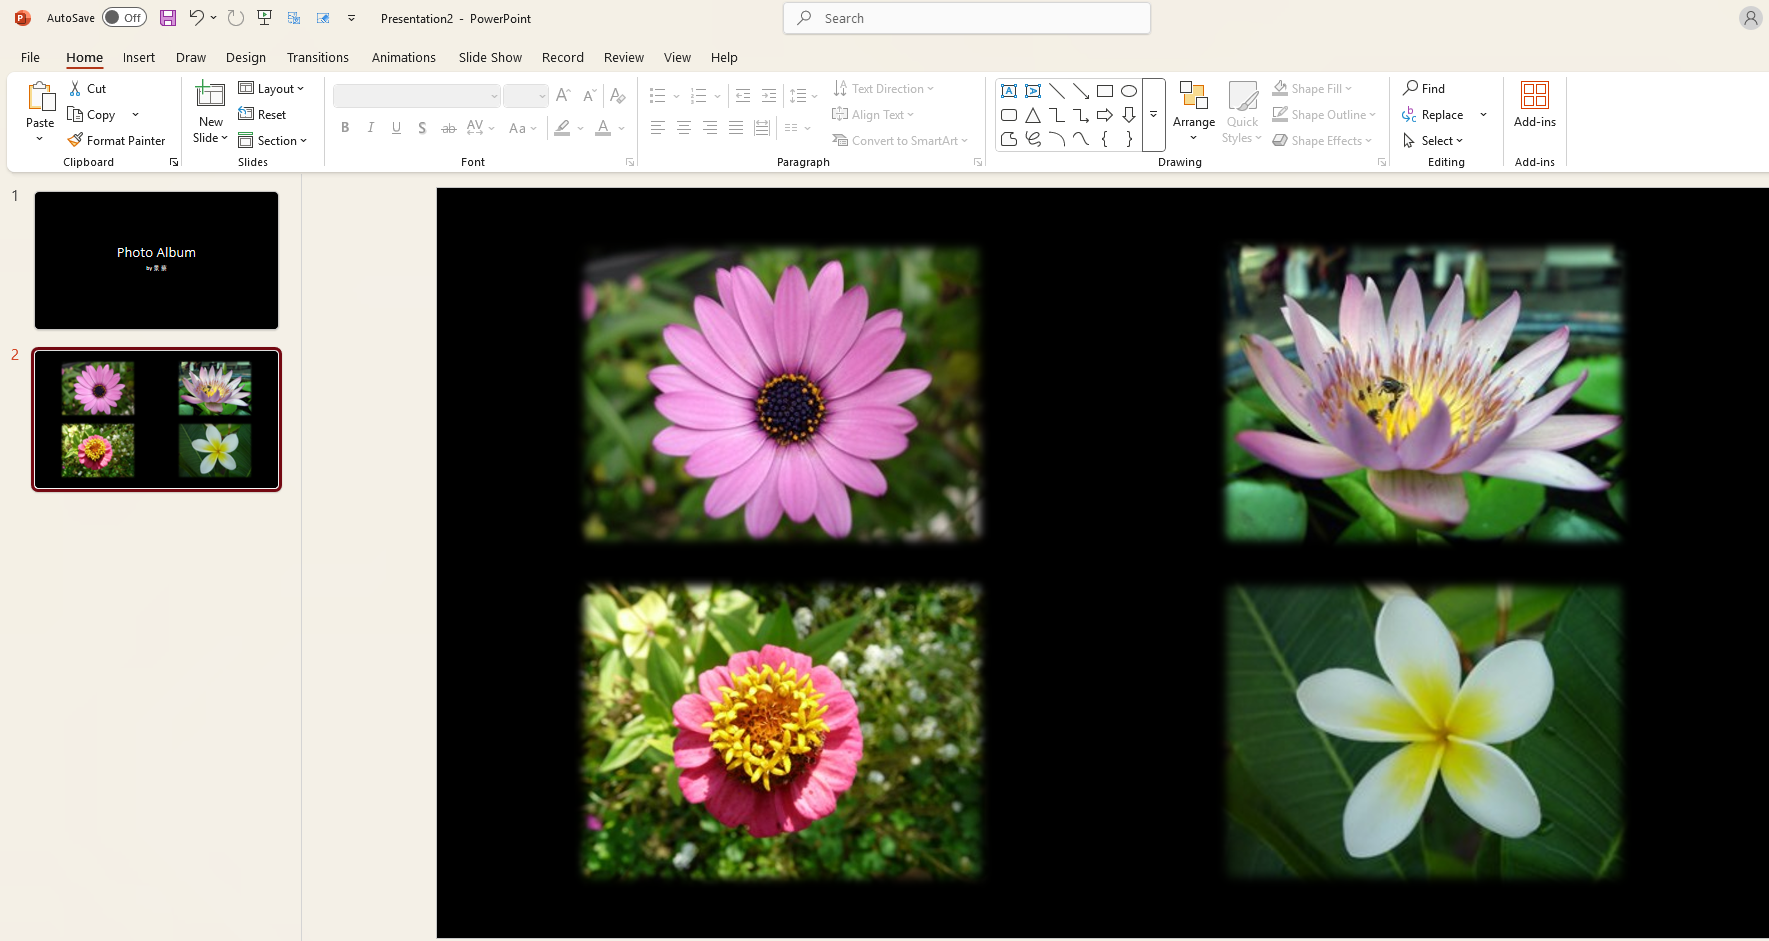
Method 4: Using the Photo Album Option
PowerPoint’s Photo Album feature is an often-overlooked tool, yet exceptionally useful for creating large picture collages.
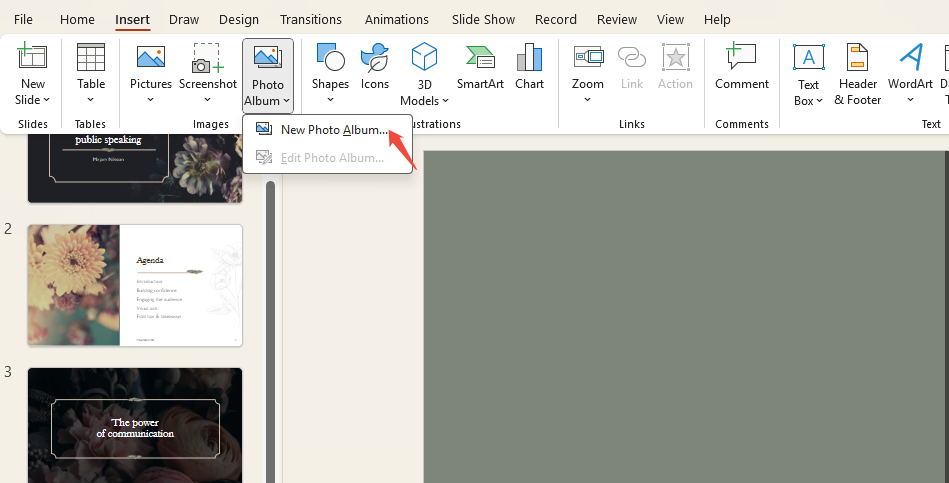
Step 1. From the menu bar, select “Insert → Photo Album → New Photo Album”.
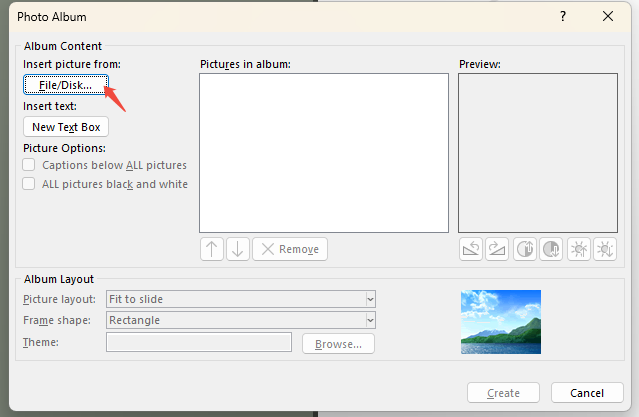
Step 2. In the new window, click “File/Disk” to upload your local photos.
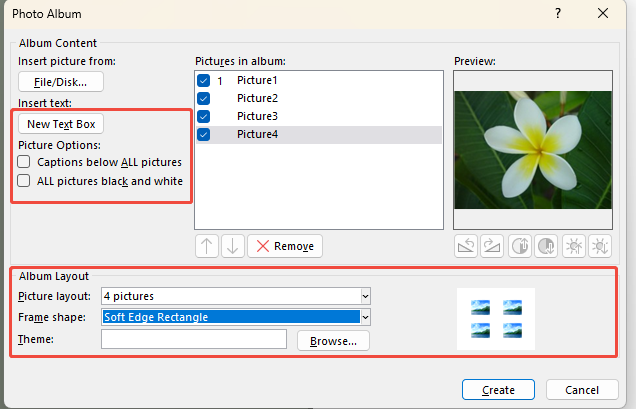
Step 3. After selecting these photos, complete your collage within this window:
- Click “New Text Box” to add text.
- Rotate or straighten images below the preview pane.
- Click “Picture Layout” to choose a photo arrangement.
- Click “Frame Shape” to add borders to images.
Step 4. After finishing, click “Create” to see the collage appear on your slide. You can still add text or make other adjustments.
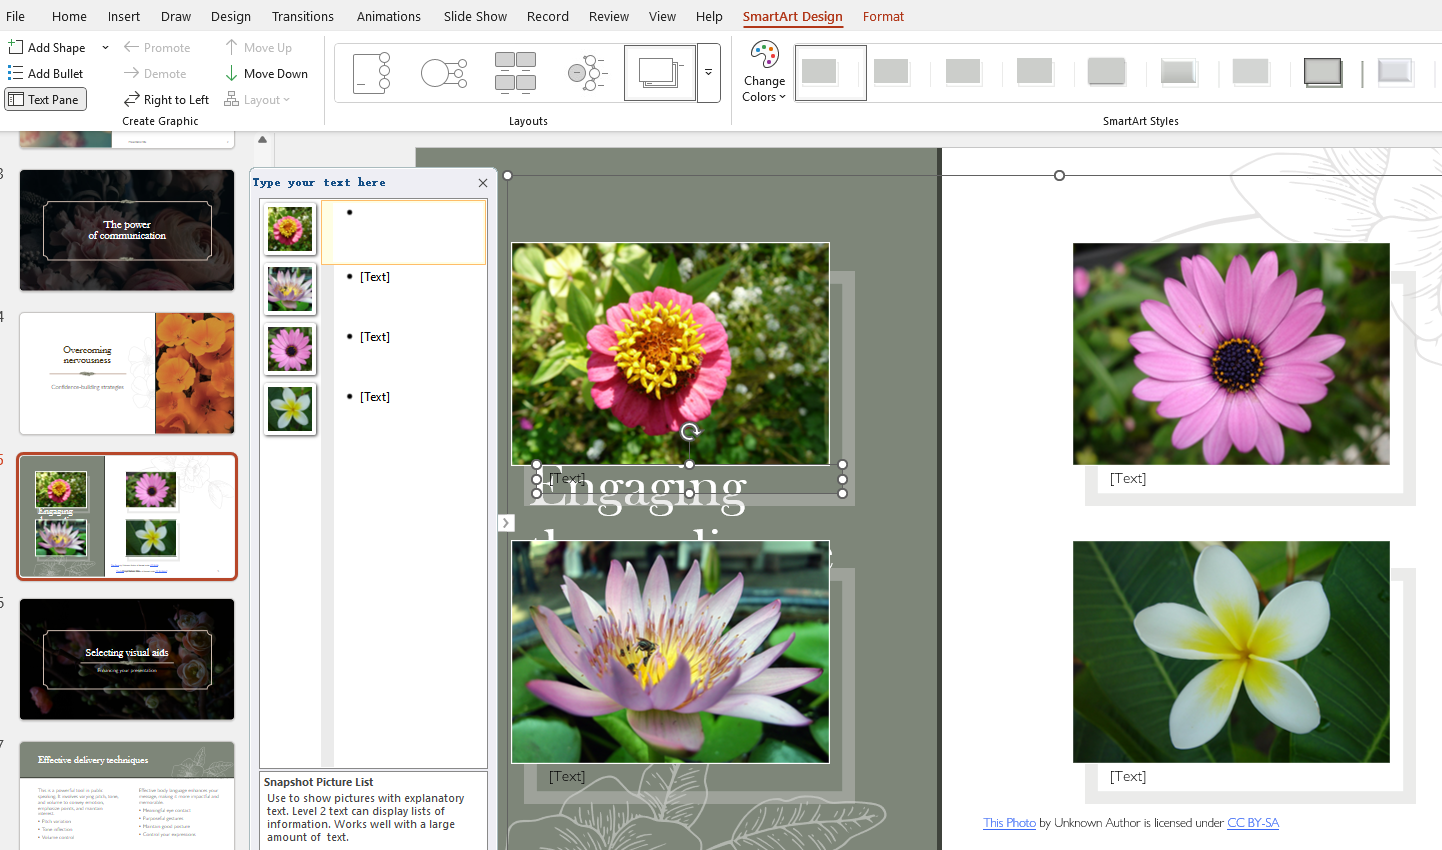
The default album layouts are pretty plain. Combine them with SmartArt or Designer to customize the style and make your PowerPoint picture collage more visually appealing.
Method 5: Creating a Custom Creative Collage
If you’d rather create your own style instead of using PowerPoint photo collage templates, go for a custom collage. You can design the layout and shape however you like to bring your ideas to life.
Step 1. In PowerPoint, click “Insert” and upload the images you wish to collage.
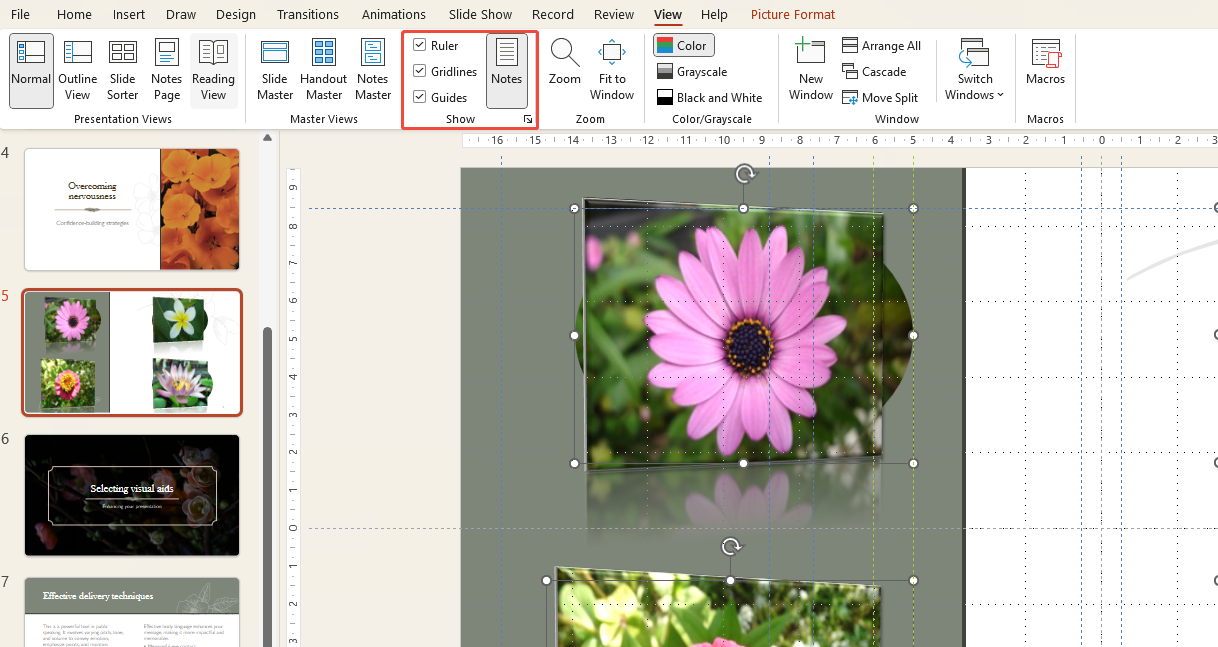
Step 2. Click “View”. Under “Show”, select “Ruler, Gridlines, and Guides” to add gridlines as reference points for aligning and positioning photos.
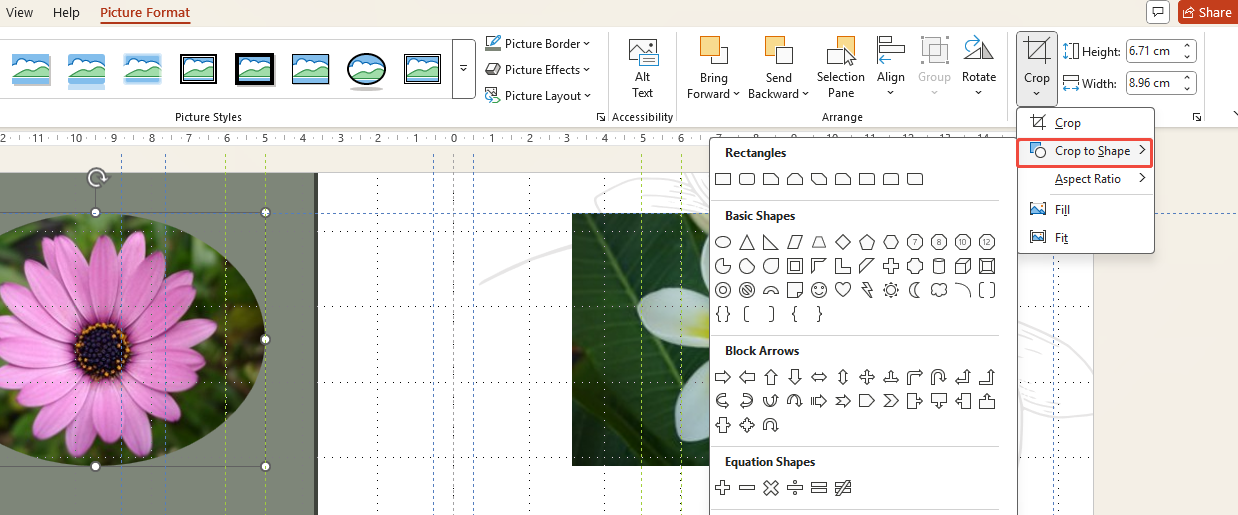
Step 3. Select an image, then click Picture “Format > Crop > Crop to Shape”. Trim the photo into your desired shape.
Step 4. Select the cropped photos again, then click “Picture Format > Picture Styles” to add borders, shadows, and more.
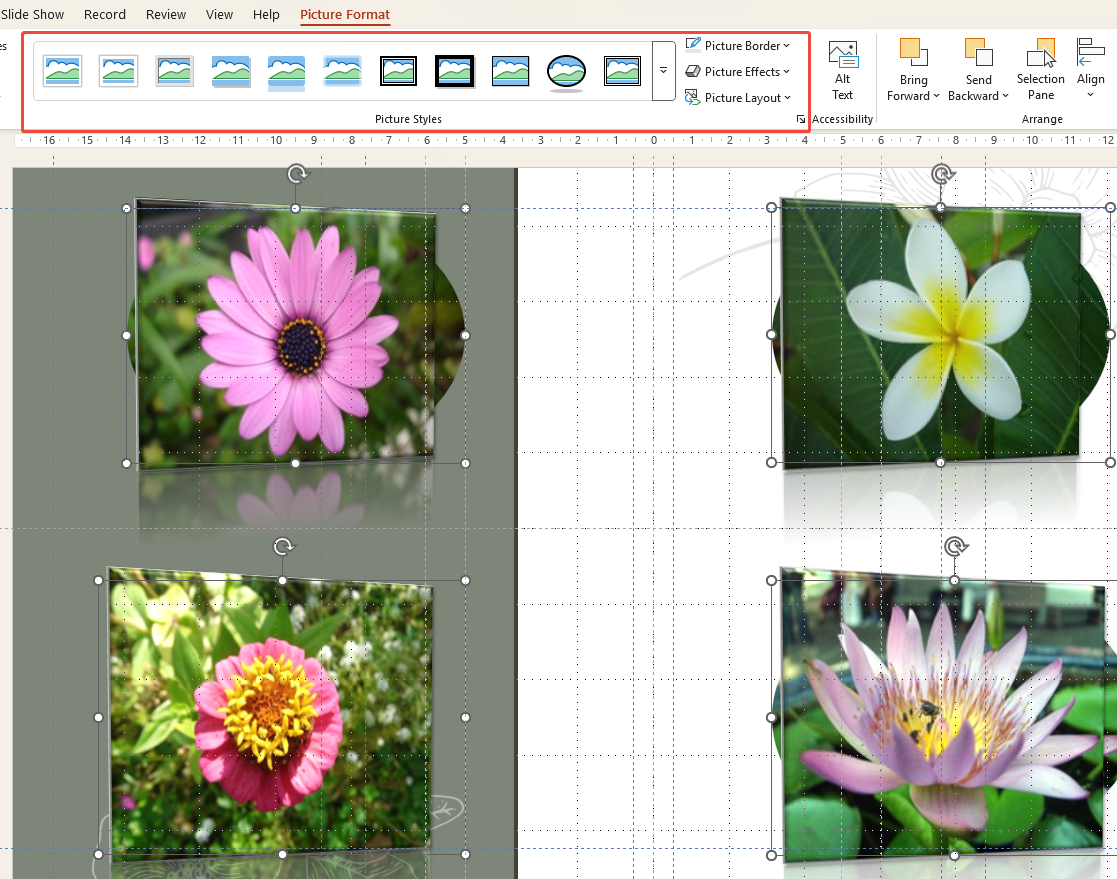
Step 5. Finally, add decorative elements (like photo frames, speech bubbles, geometric shapes) to enrich the collage.
If manual creation feels cumbersome, try WorkPPT- best AI PPT Maker. It designs and generates slides from your topic. Within 2 minutes, you’ll get a fully developed PPT featuring clear content with text, images, and charts.