
You don’t need Photoshop to make a great poster. PowerPoint is a tool most people already know, and it’s more than enough for the job. Whether you’re a student or just need a quick promo poster, PowerPoint lets you design something clean and professional without wasting time.
This article will guide you through the whole process of how to make a poster in PowerPoint. Even if it’s your first attempt, you’ll be able to create professional-looking posters with ease.
Common Poster Dimensions
Before making a poster in PowerPoint, decide on its size. This sets your slide dimensions in PowerPoint and affects how it looks when printed or displayed. Common poster sizes include:
Type | Size | Use For |
A1 Size | 594mm × 841mm | A popular choice for academic posters and conferences. |
A2 Size | 420mm × 594mm | Great for company notices or campus events. |
A3 Size | 297mm × 420mm | Works well for promo posters on bulletin boards or in classrooms. |
24 × 36 in | about 610 × 914mm | Widely used in North America for conferences and exhibitions. |
A4 Size | 210mm × 297mm | Best for flyers, small posters, or quick notices. |
👉Tip: Before printing posters, check with the print shop for supported sizes and resolution. A minimum resolution of 300 DPI is recommended to prevent blurriness.
How to Make a Poster in PowerPoint
PowerPoint is a visual design tool, so creating posters works much like creating slides. You can start from scratch or use a template.
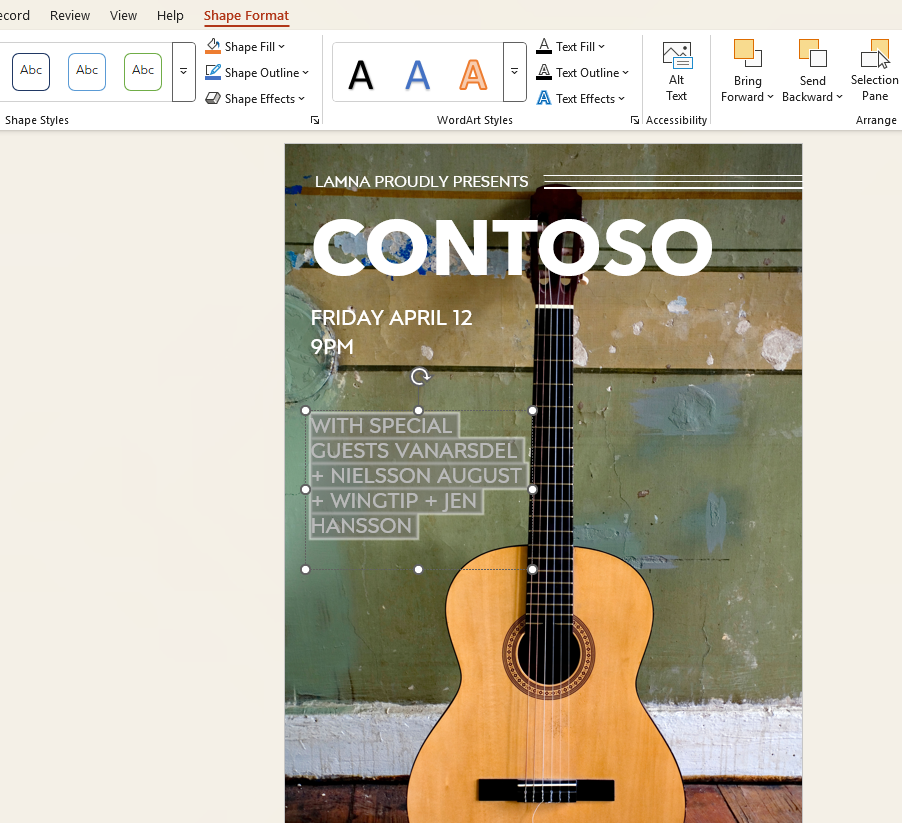
Method 1: Manually Create Posters
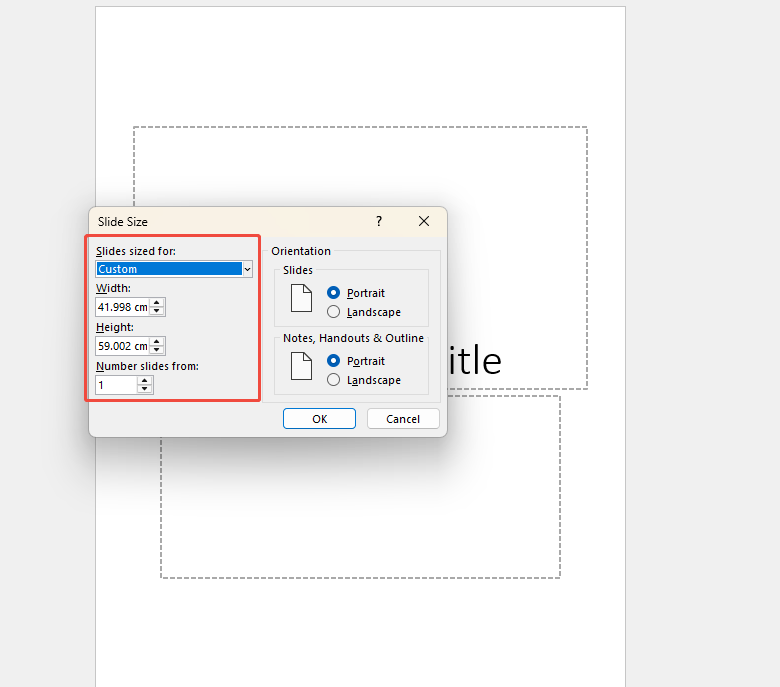
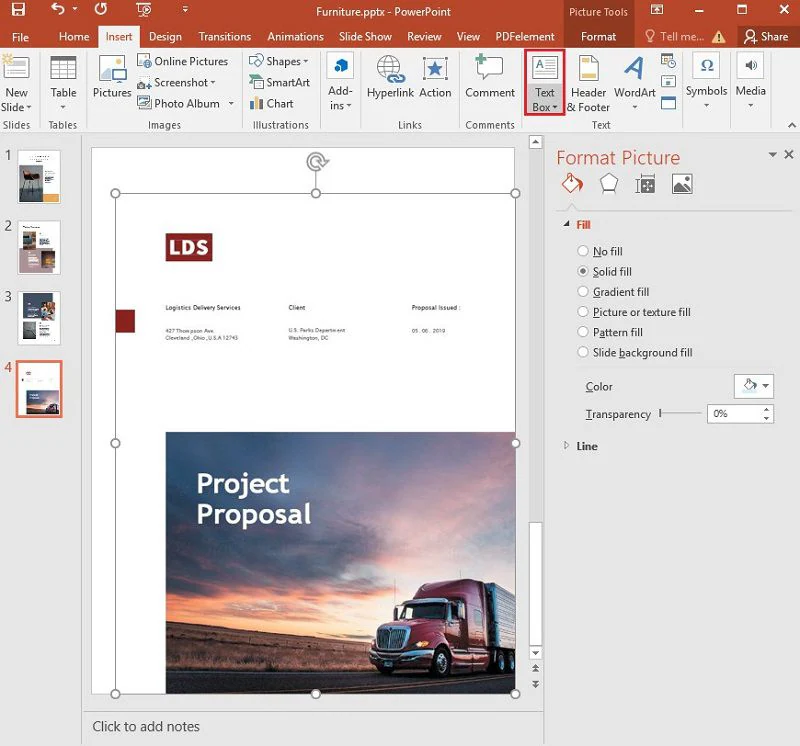
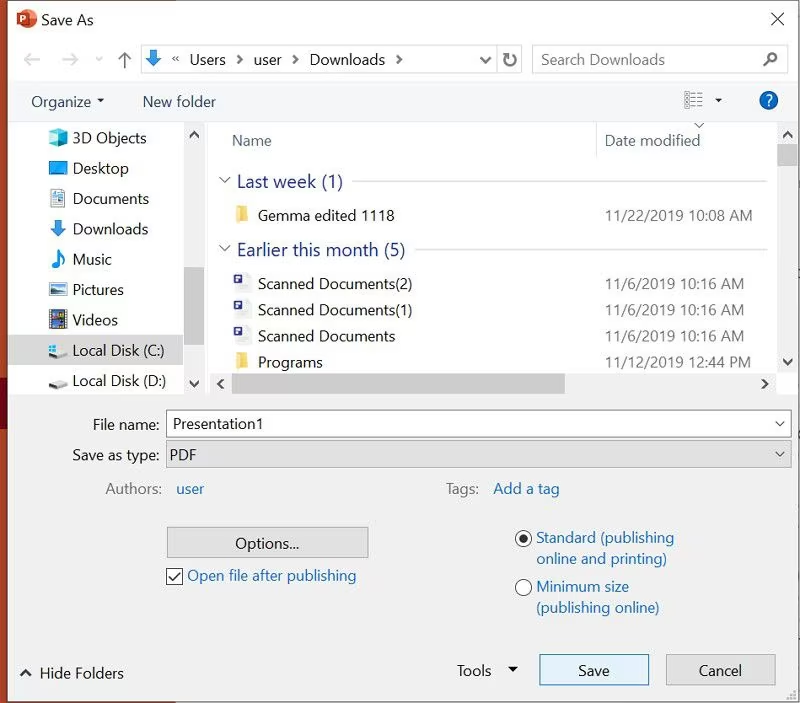
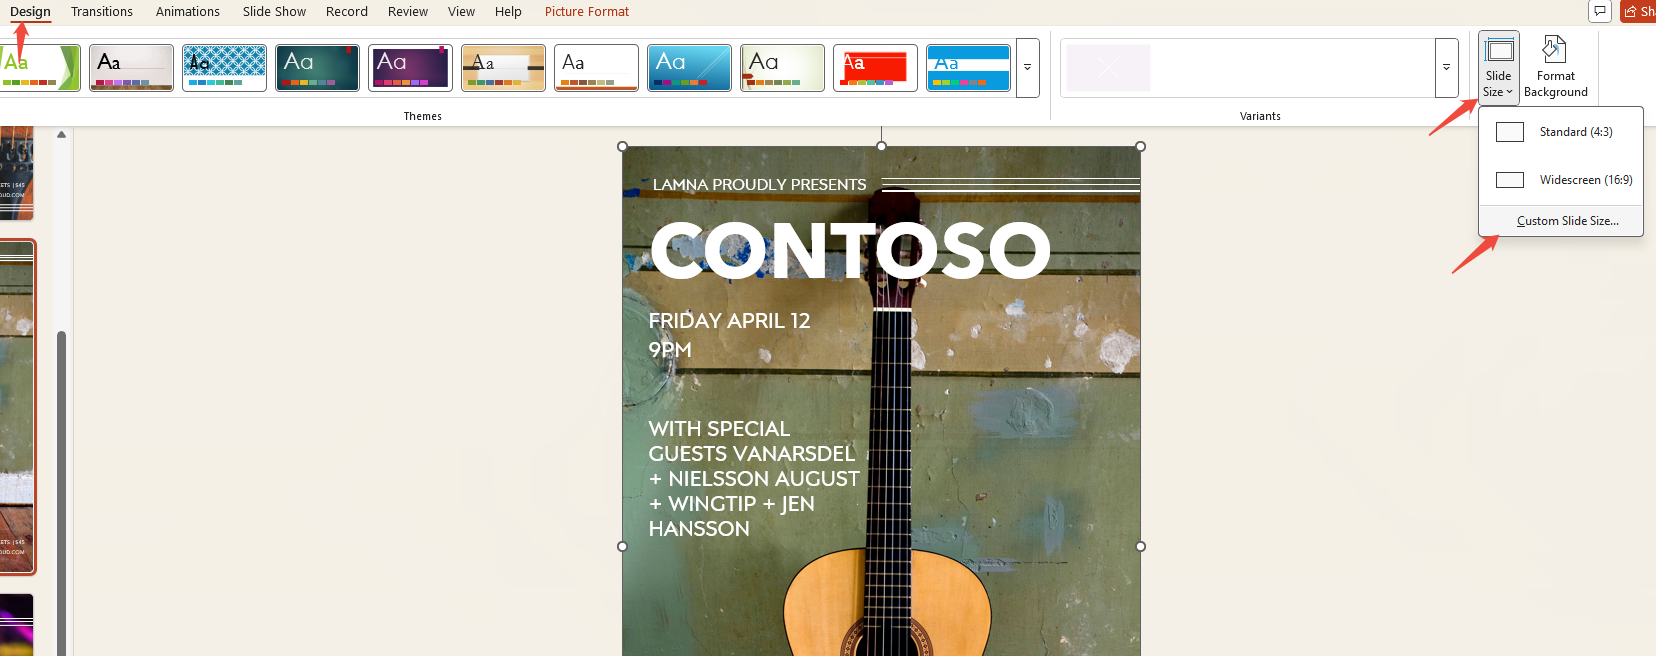
Creating a poster by hand allows precise control over layout and content, but it also takes some design and layout skills.
Step 1: Create a Slide:
Open PowerPoint and create a new presentation.
Step 2: Determine Poster Size:
Next, select the poster size. Click “Design → Slide Size → Custom Slide Size”. Enter your desired poster dimensions (e.g., 420mm × 594mm). Ensure the poster layout is set to portrait orientation.
Step 3: Design Poster Content:
Now comes the most crucial step: designing the poster content. Click “Insert > Pictures” to add your source images. Then set the poster background—it can be a solid color, gradient, or image.
Step 4: Add Text:
A post is meant to share information, so remember to insert text boxes. Use “WordArt” for the title, subtitle, and main text, ensuring proper formatting. Finally, incorporate charts, stickers, and other elements to enhance the visual appeal.
Step 5: Save the Poster:
Once the poster design is complete, it’s best to save it as a PDF. This ensures the layout and formatting remain intact.
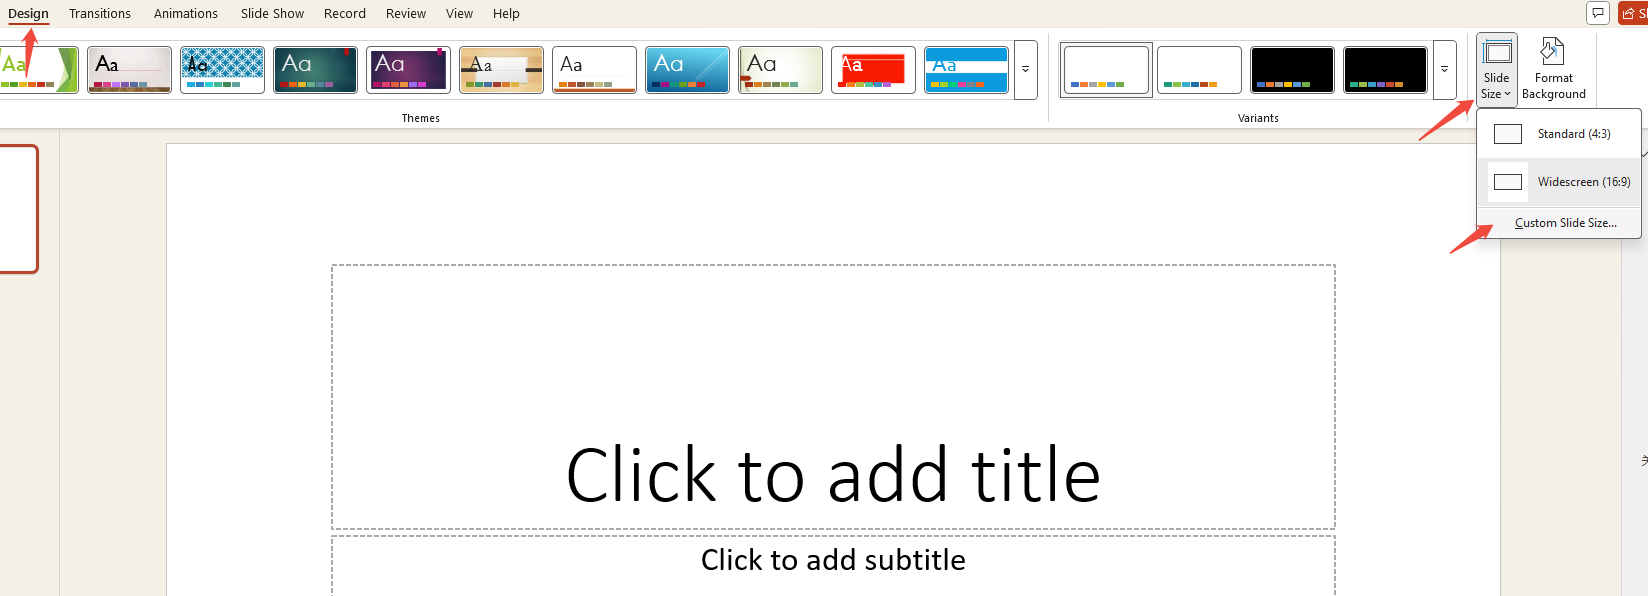
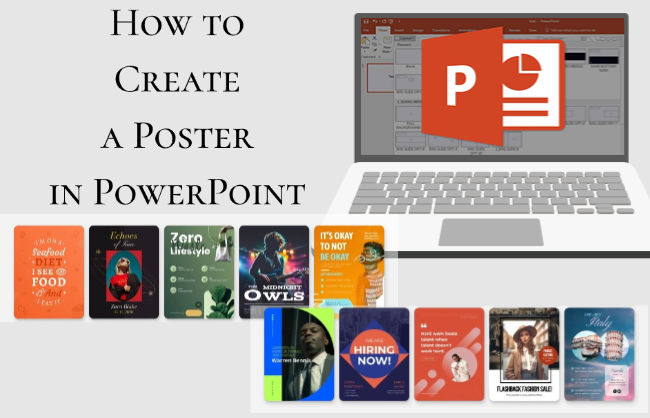
Method 2: Using PowerPoint Poster Templates
If you’re short on time, use a PowerPoint poster template. This way, you only need to replace the content, and your poster is ready.
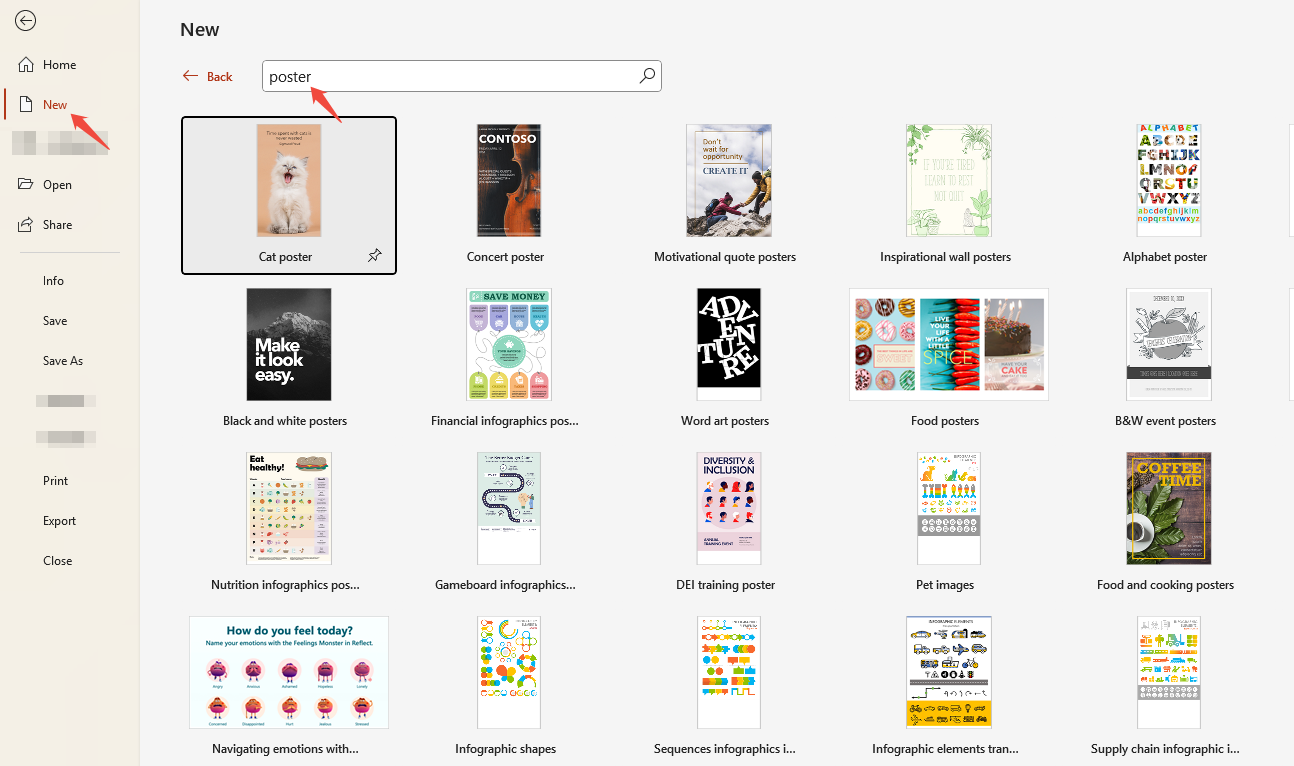
Step 1: Browse and Select a Template:
In PowerPoint, you can find built-in poster templates by going to “File → New” and searching “Poster”. You can also download poster templates from third-party sites like Canva.
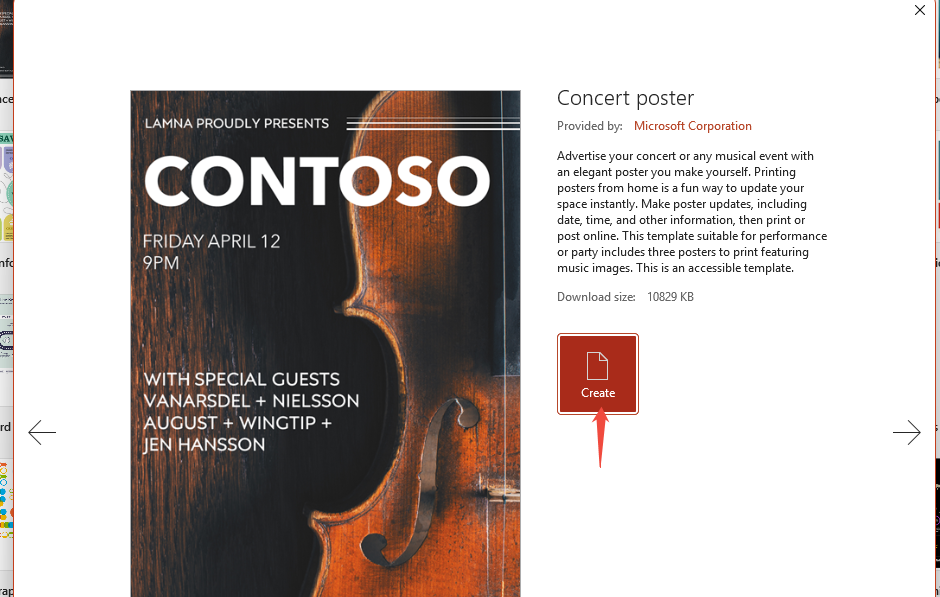
Step 2: Using the Template:
After selecting a suitable template, click “Create” to open it in a new window.
Step 3: Filling in the Layout and Design:
You can now adjust the background, fonts, and text to match your poster. Tweak the design until it looks right.
Step 4: Adjusting the Poster Size:
If the template size isn’t right, go to “Design → Slide Size → Custom Slide Size”, adjust the dimensions, then confirm and save.
Using templates in PowerPoint can save you time, especially when you’re on a tight deadline. However, don’t just stick with the default—adjust fonts and color to make the poster feel more like your own.
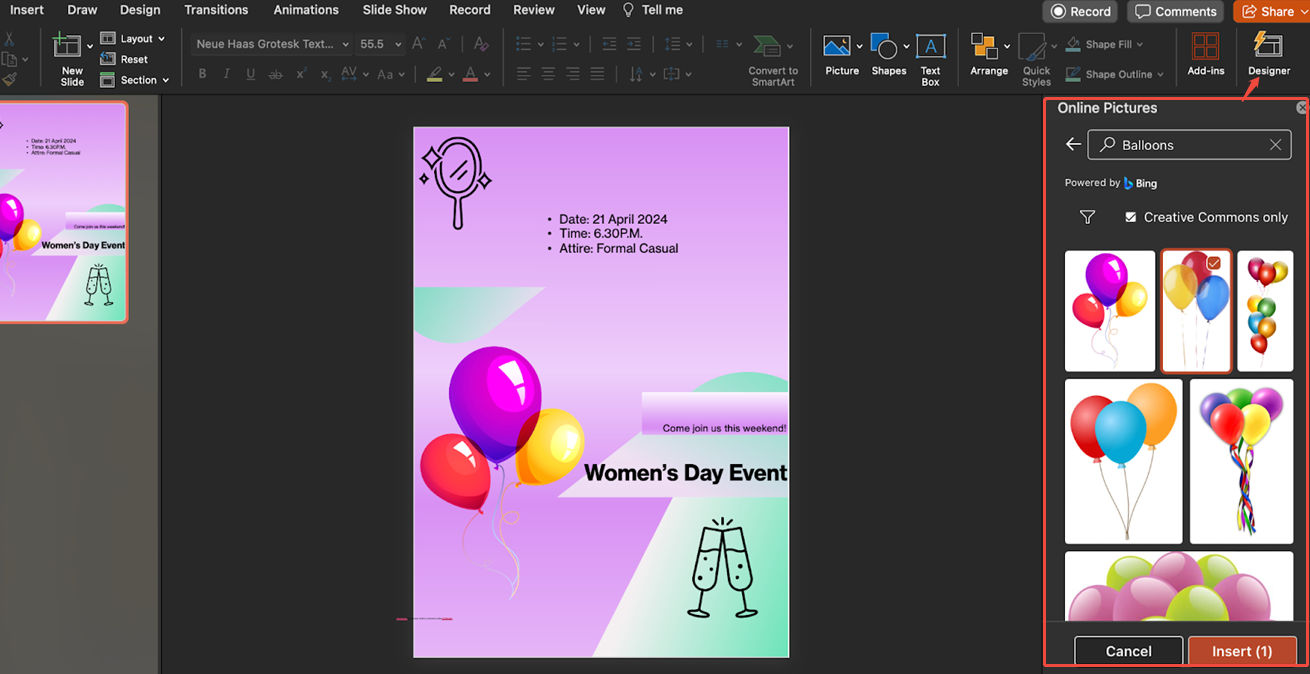
Method 3: Using Microsoft Designer
Microsoft Designer is an AI-powered design tool that helps you quickly create posters with ready-made templates. To use it, you need a Microsoft 365 account.
Step 1: Create a Slide:
Open PowerPoint and create a new presentation where you’ll build your poster.
Step 2: Select a Template:
Click the “Designer” feature in the top-right corner. In the sidebar, browse or search for posters, then pick a template to use.
Step 3: Adjust Size:
Click “Design > Slide Size > Custom Slide Size” at the top. Modify your poster dimensions and confirm.
Step 4: Personalize Your Poster:
The most crucial step is fine-tuning. Replace the template text with your own, adjust the colors and backgrounds. You can also add stickers if you want to give your poster a personal touch.
Important Notes for Making a Poster in PowerPoint
Creating an good poster takes more than adding text and images. Here are some tips to make your poster clear and visually appealing.
Font Selection:
- Use sans-serif fonts (e.g., Arial, Calibri) for headlines—they appear bold and crisp.
- Body text benefits from serif fonts (like Times New Roman) for enhanced readability.
- Ensure font sizes are sufficiently large, as posters are often viewed from a distance.
Color Scheme:
- Limit primary colors to no more than three.
- Prioritize high contrast (light background + dark text).
- Maintain consistency—avoid excessive use of multiple colors.
Image Quality:
- Insert high-resolution images to prevent blurriness when printed.
- Avoid excessive decoration; keep visuals clean and simple.
Layout Structure:
- Place main title first, followed by subtitle and body text.
- Use sections or columns to ease reading.
- Leverage charts and icons to minimize large blocks of text.

Is There an Easier Way?