

Bullet points are more than just formatting, they are a powerful communication tool, and can even serve as a checkbox for slides. Here’s why they matter:
 Simplify complexity: Turn long paragraphs into clear, actionable points. Improve retention: Audiences remember 40% more when content is presented in bullet form versus dense text (Neuroscience research). Focus attention: They direct viewers to your key messages without overwhelming them.
If you need a fast solution, this method uses simple keystrokes:
1. Visit the Google Slides and open your presentation.
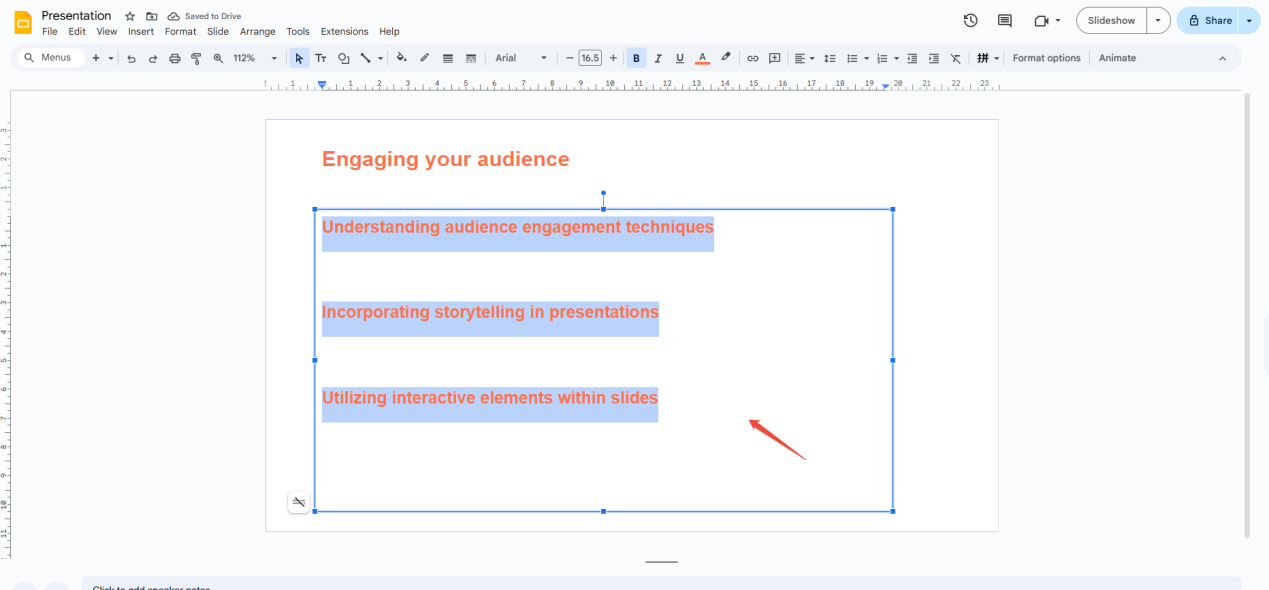
2. Select the text that you want to add bullet points to.
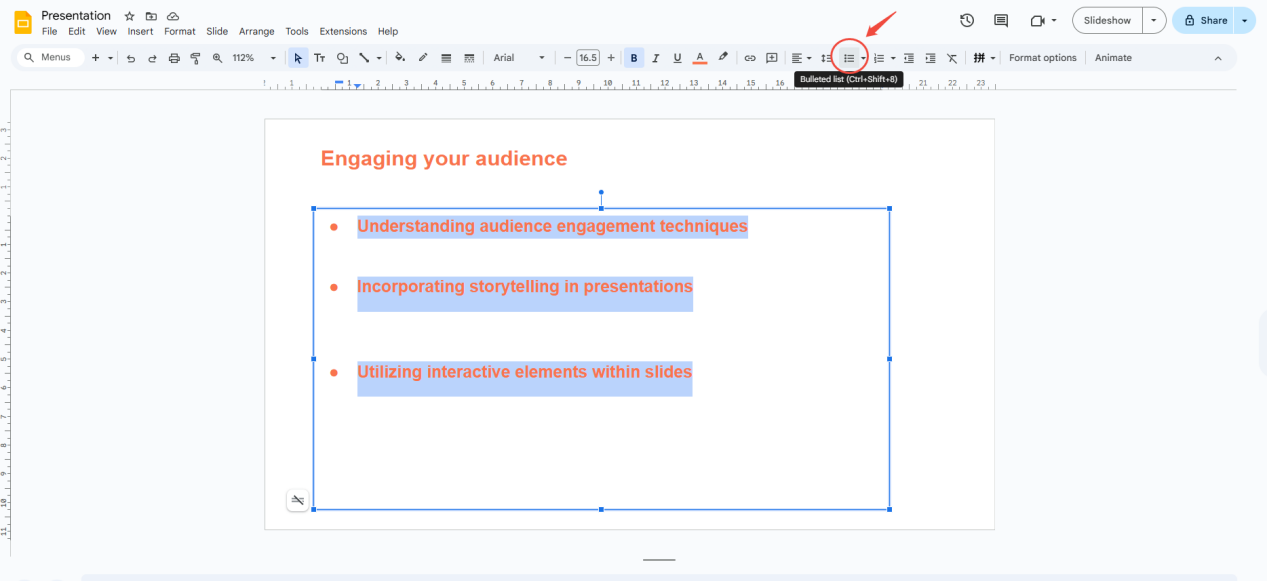
3. Click the “Bulleted List” on the top toolbar. Google Slides will automatically add the default round bullet points at the beginning of each line of text.
(If you want other style bullet points, you can expand the bulleted list, which includes six other shapes of bullet points.)
This method helps you make bullets match your content or brand:
1. Select existing bullet points.
2. Go to Format > Bullets & numbering > List options.
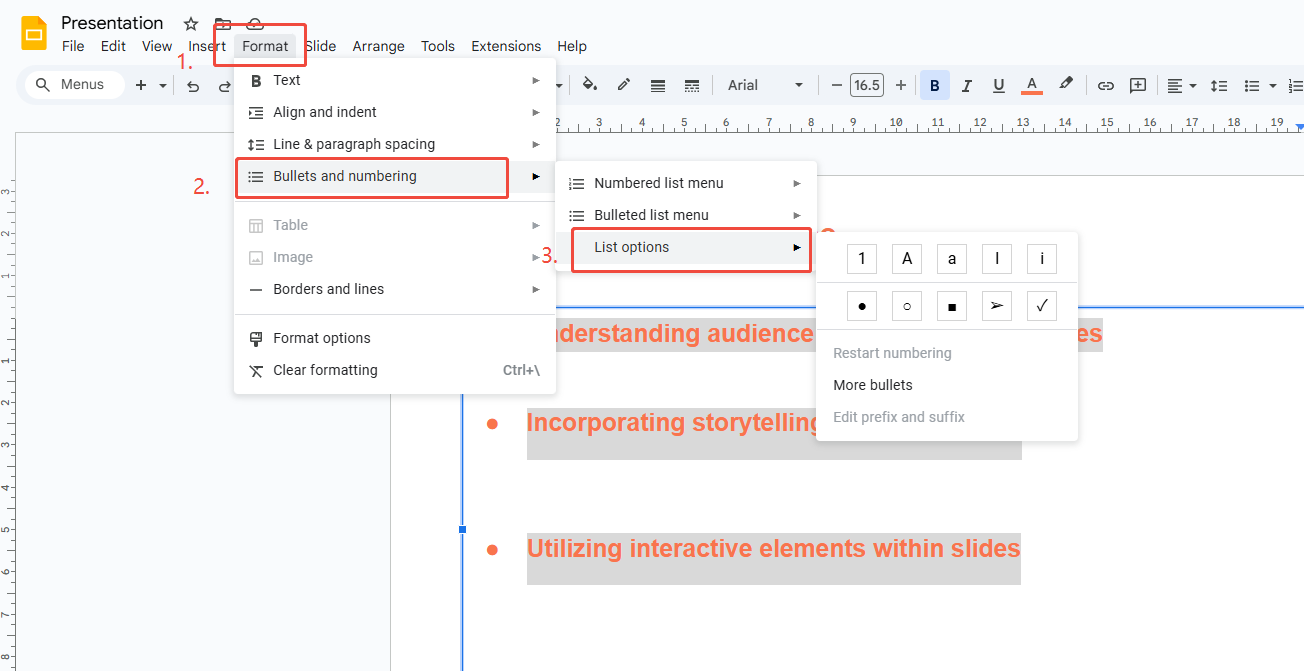
3. ChooseSymbols: Arrows (➔), checkmarks (✓), squares (■).
Images: Upload logos or icons (PNG/SVG).
Color/Size: Match brand palettes (HEX codes supported).

1. Go to the text box where you want to add bullet points.
2. Type your main bullet point and press Enter for a new bullet.
3. To create a sub-bullet, do one of the following:
- Click the “Increase hanging indent” button (it looks like a right-facing arrow) in the toolbar.
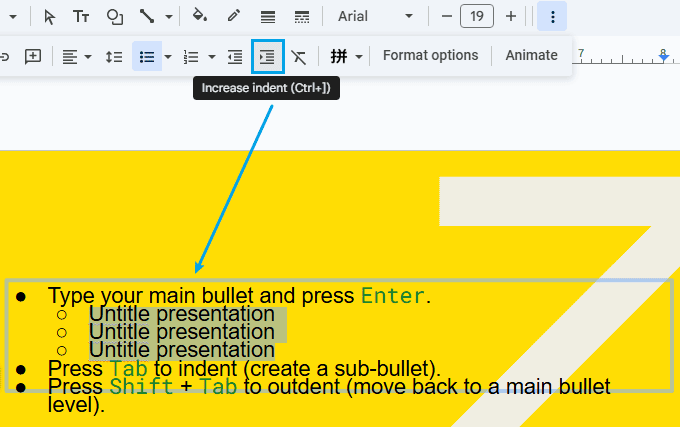
Or, use the keyboard shortcut:
- Windows/Chrome OS:
Tab - Mac:
Tab
4. Type your sub-bullet point.
5. To move back to a higher-level bullet (undo the indent), press:
- Windows/Chrome OS:
Shift+Tab - Mac:
Shift+Tab
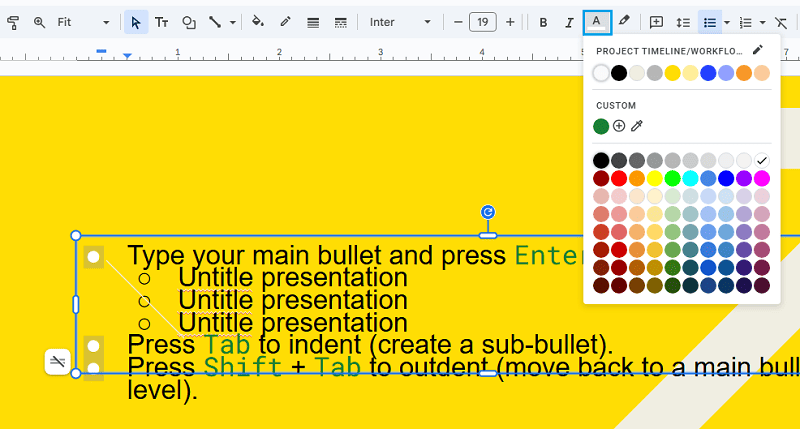
By default, bullets inherit the text color, so changing the text color also changes the bullet color. Here are the steps to color your bullet points:
- Highlight the bullet points you want to change.
- Click the Text color button (looks like “A” with a color bar) on the toolbar.
- Choose your desired color.
1. Select the bullet points you want to customize, and click the “More bullets” option in the pop-up.
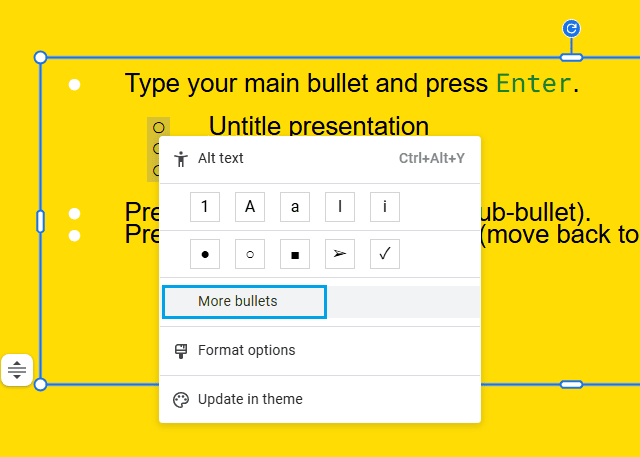
2. In the “Insert special characters” pop-up, choose the category of icons you want, such as emojis. Select your favorite icon—click as many times as you need for multiple icons.
![]()
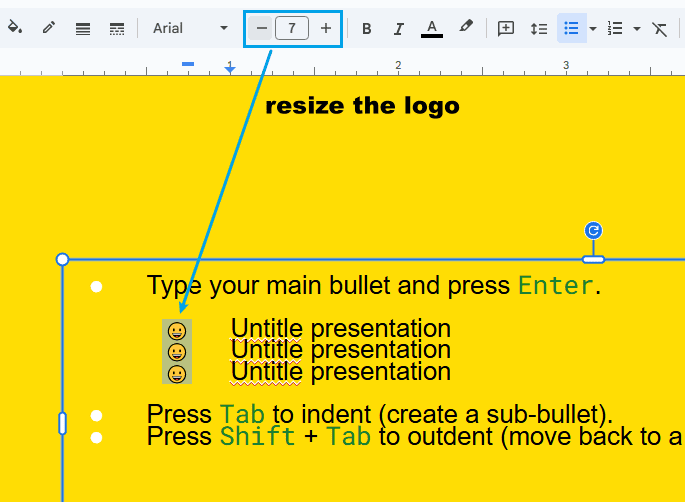
3. Select the icons you want to resize, and use the font size controls in the toolbar to adjust their size.
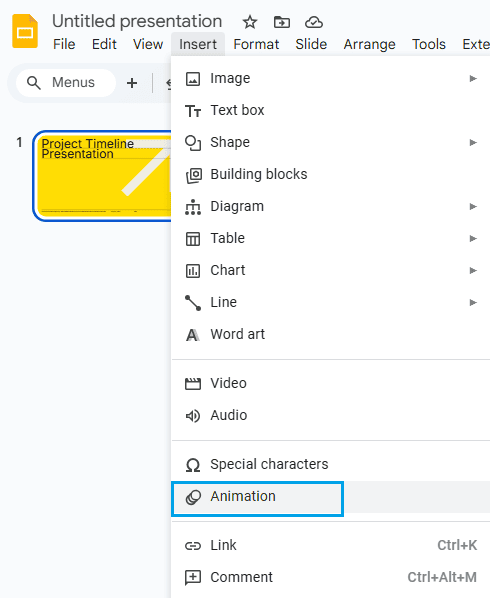
1. Click on the text box that contains your bullet points.
2. Go to the menu bar and click on Insert > Animation. Alternatively, right-click the text box and select Animate.
3. The Motion or Animations pane will appear on the right. Under “Object Animations,” click “Add animation” (or directly select an animation).
4. Choose an animation effect (such as “Appear,” “Fade in,” “Fly in from left,” etc.).
5. To animate each bullet point one at a time, check the box labeled “By paragraph” in the animation pane. This tells Google Slides to animate each bullet (or paragraph) individually, not all at once.
6. Set the start condition (on click, after previous, with previous). Adjust speed/duration if needed.
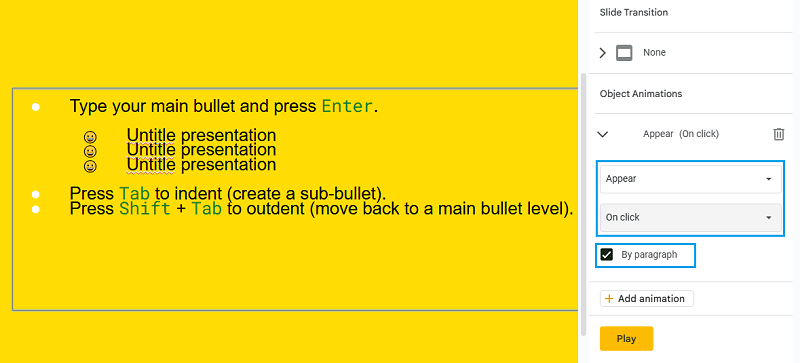
7. Click the “Play” button in the animation pane to preview how the bullets will appear one by one.