author image

Have you ever been presenting and lost track of how many slides you’ve shown or how many are left? It can throw off your flow and leave your audience unsure of where you are. A PowerPoint progress bar fixes this. It works like a guide, showing your audience how far along the presentation is and helping you stay on track.

Next, I’ll walk you through why it’s useful, how to create one, and how to design it so it looks good and works well.

A PowerPoint progress bar is a simple visual guide that shows where you are in a presentation.

  • Formats: Usually a horizontal bar at the bottom or a vertical bar on the side.
  • Styles: Can grow slide by slide, appear as a solid line, dotted segments, or even with animations.
  • Best for: Business talks, lectures, online courses, product demos, and more.

What the Benefits of PowerPoint Progress Bar

The status bar in PowerPoint isn’t just decoration, it significantly enhances the professionalism and efficiency of your presentation.

  • Improves audience orientation:
    • Knowing how much content remains helps viewers maintain focus.
    • According to Prezi statistics, presentations with progress bars increase average audience attention span by 23%.
  • Adds professionalism: It shows your slides are well-structured and organized, which builds trust.
  • Keeps your pacing on track: You can manage time better and avoid rushing or running over.
  • Improves retention: Simple visual cues help people absorb and remember information.

How to Create PPT Progress Bar Manually

Creating a progress bar in PowerPoint manually is easy, you just need to use shapes. This method works well if you don’t want to use code.

Step 1: Launch PowerPoint and create or open your presentation.

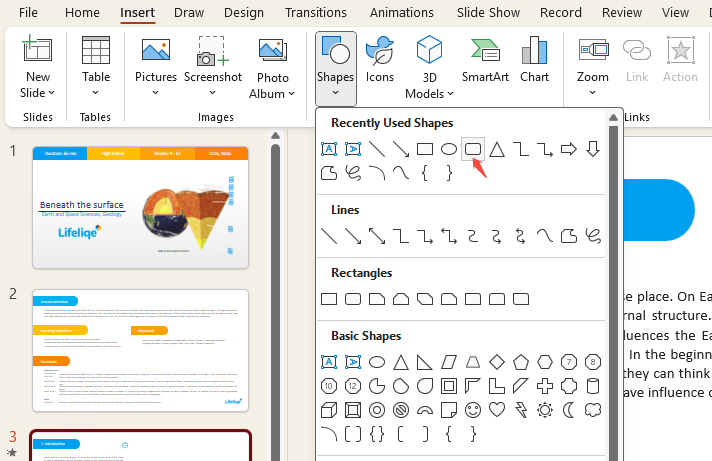
Step 2: Go to “Insert > Shapes”, choose a rectangle, and add as many rectangles as your total slide count.

insert shapes in ppt

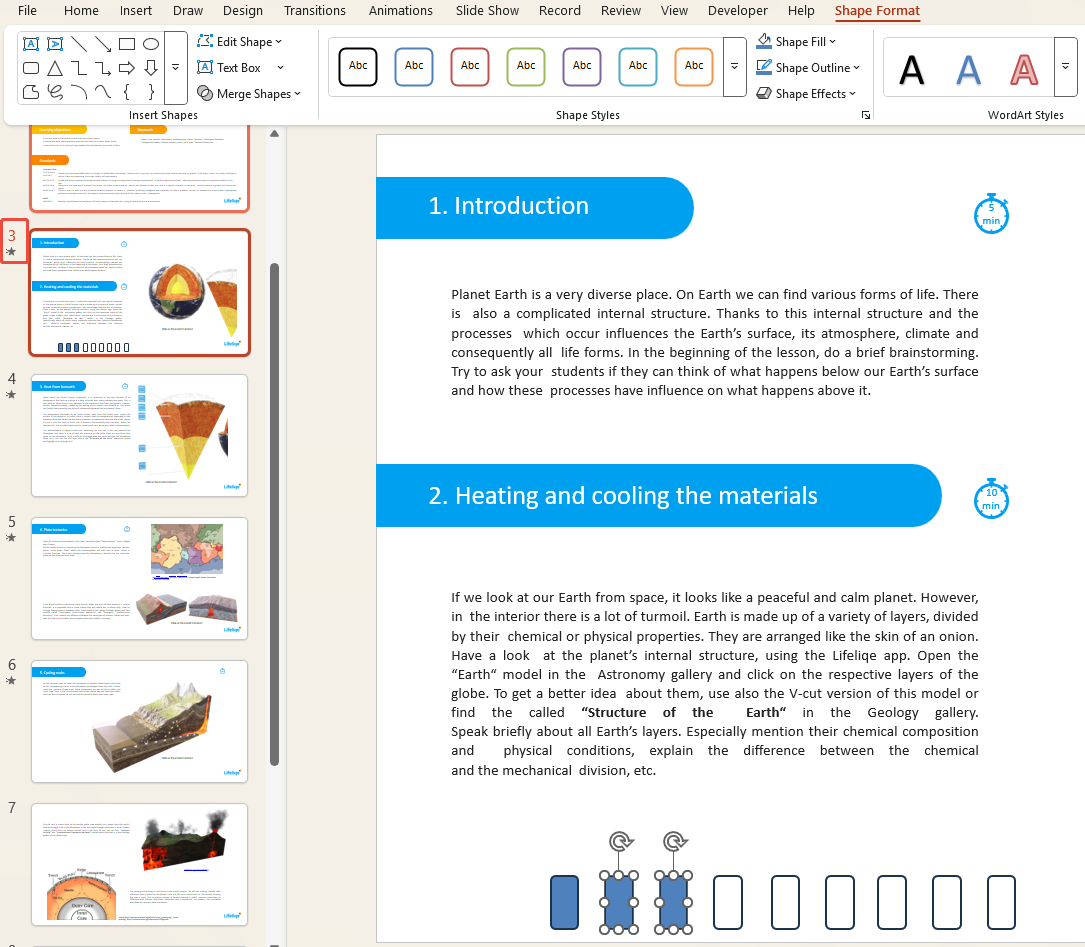
Step 3: Resize and align the rectangles at the bottom of the slide. Fill the first rectangle with color to show the starting point.

Step 4: For each new slide, copy and extend the filled rectangles to match your progress, so the bar looks like it’s growing.

fill the shapes in powerpoint

Step 5: Add simple animations like Wipe or Appear so the bar updates smoothly as you move through the slides.

This manual approach works best for short presentations where you want design flexibility without coding.

How to Insert a Presentation Bar Using Code

If your PowerPoint has many slides or needs frequent updates, using a coded progress bar is faster and easier.

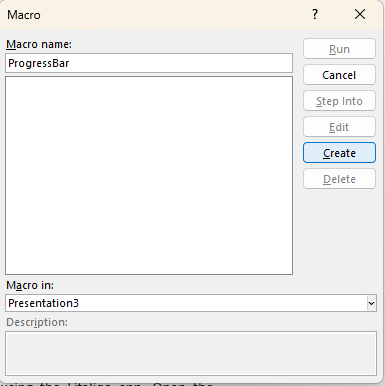
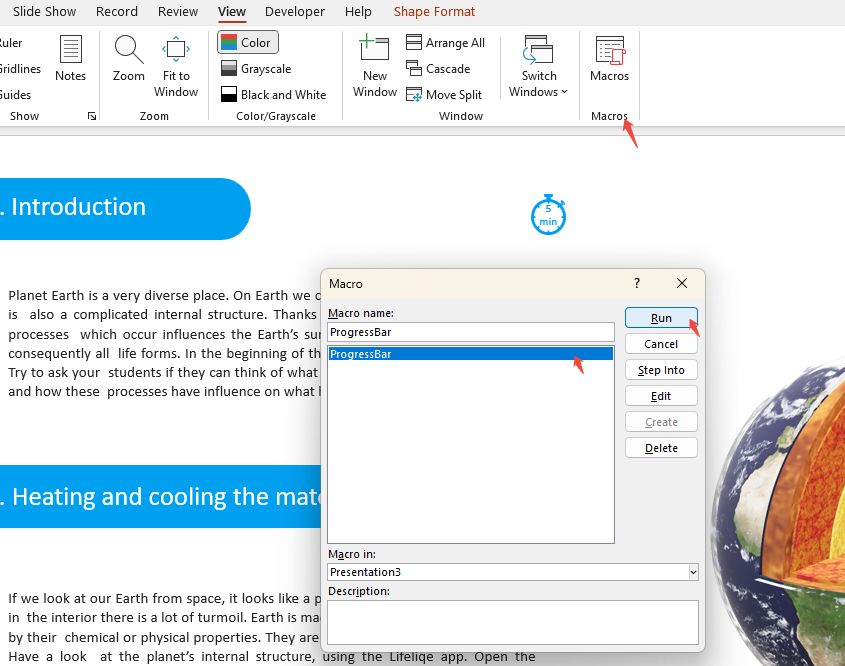
Step 1: Open your PPT file and navigate to the “View” tab, and click “Macros”.

find the view tab

Step 2: Give Macros a name, such as “ProgressBar”.

Step 3: Click “Create” to open the editor.

enter a name and create

Step 4: In the text box that appears, you’ll see “Sub ProgressBar()” and “End Sub”.

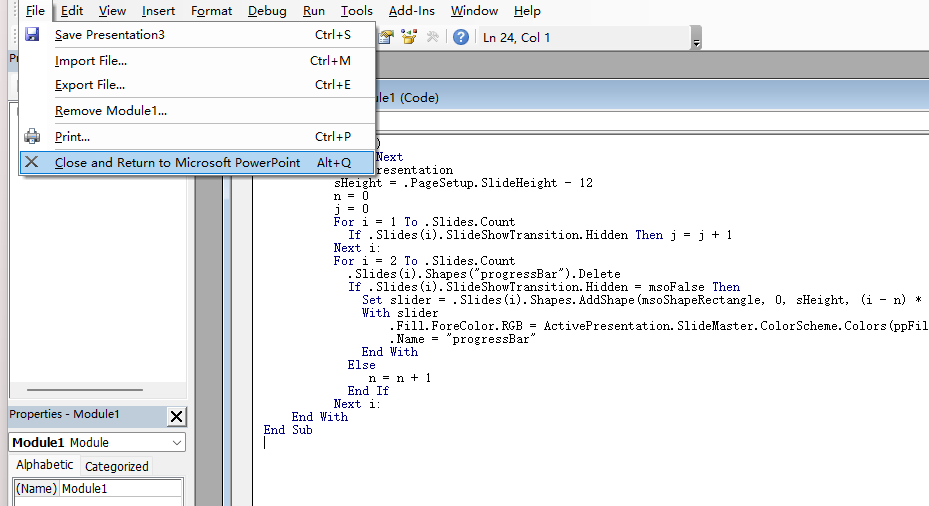
Step 5: Between “Sub ProgressBar()” and “End Sub”, enter the following code:

🌟 The Code:
On Error Resume Next
With ActivePresentation
sHeight = .PageSetup.SlideHeight – 12
n = 0
j = 0
For i = 1 To .Slides.Count
If .Slides(i).SlideShowTransition.Hidden Then j = j + 1
Next i:
For i = 2 To .Slides.Count
.Slides(i).Shapes(“progressBar”).Delete
If .Slides(i).SlideShowTransition.Hidden = msoFalse Then
Set slider = .Slides(i).Shapes.AddShape(msoShapeRectangle, 0, sHeight, (i – n) * .PageSetup.SlideWidth / (.Slides.Count – j), 12)
With slider
.Fill.ForeColor.RGB = ActivePresentation.SlideMaster.ColorScheme.Colors(ppFill).RGB
.Name = “progressBar”
End With
Else
n = n + 1
End If
Next i:
End With

This code adds a presentation progress bar at the bottom of each slide. Its length is set automatically based on the total number of slides.

Step 6: Click “File > Close and Return to Microsoft PowerPoint” to complete the process.

back to ppt

Step 7: To show the progress bar, open the “View” tab, click “Macros”, choose the one you created, and hit “Run”.

hit run to start the code

Remember: Save your presentation as a .pptm file (PowerPoint with Macros) so the presentation progress bar still works when you reopen it.

workppt banner 2

Is There an Easier Way?

With WorkPPT, you can turn any idea into a ready-to-use PPT in minutes.

Tips for PPT Progress Bar Visually Appealing

A clean PPT progress bar keeps users focused and makes the interface look better.

  • Color: Stick to theme colors and avoid harsh tones. Use only a few colors for a subtle look.
  • Shape: Rounded corners or gradients make it feel modern and soft.
  • Animation: Smooth, gradual fills or fades keep it natural as slides advance.
  • Placement & Size: Position at the bottom, thin enough not to block content.
  • Extras: Small icons or page numbers beside it can help users track progress.

FAQs about PowerPoint Progress Bar

Q: Can I add progress bars to any PPT?

A: Yes, for basic shapes and animations, PowerPoint 2010 or later works. If you want code-based progress bars, use 2013 or newer.

Q: What's the difference between manual creation and code generation?

A: Manual creation suits short presentations with simple scenarios. Code generation is ideal for large-scale or frequently updated presentations.

Q: Does the PowerPoint progress bar affect slide transition speed?

A: No. Modern computers and optimized PowerPoint versions experience negligible performance impact.

Q: Can PowerPoint progress bars be built into templates?

A: Yes. Set the bottom gray bar as a master slide and use VBA to automatically adjust the highlighted bar.

Q: How to adapt to different screen sizes?

A: Use percentage calculations for width or height instead of fixed pixels.

💬 Conclusion:

PowerPoint progress bars make your presentations more professional, keep your audience engaged, and help you stay on track. You can add them manually or with a bit of code. Add one to your next presentation and see how it improves attention and makes your delivery smoother. Small touch, big difference.